
Have you ever wondered how to make bouncy balls at home? We recently tried this experiment with my three boys, and let's just say... we made a lot of bouncy balls before we found our favorite recipe!
This turned into one of those activities that was way more entertaining than I expected (it reminded me of when they were enthralled with the bouncing egg experiment). We had so much fun experimenting with different colors, testing how high each ball bounced, and making "just one more." If your kids enjoy hands-on science activities, this is definitely one to add to your list.
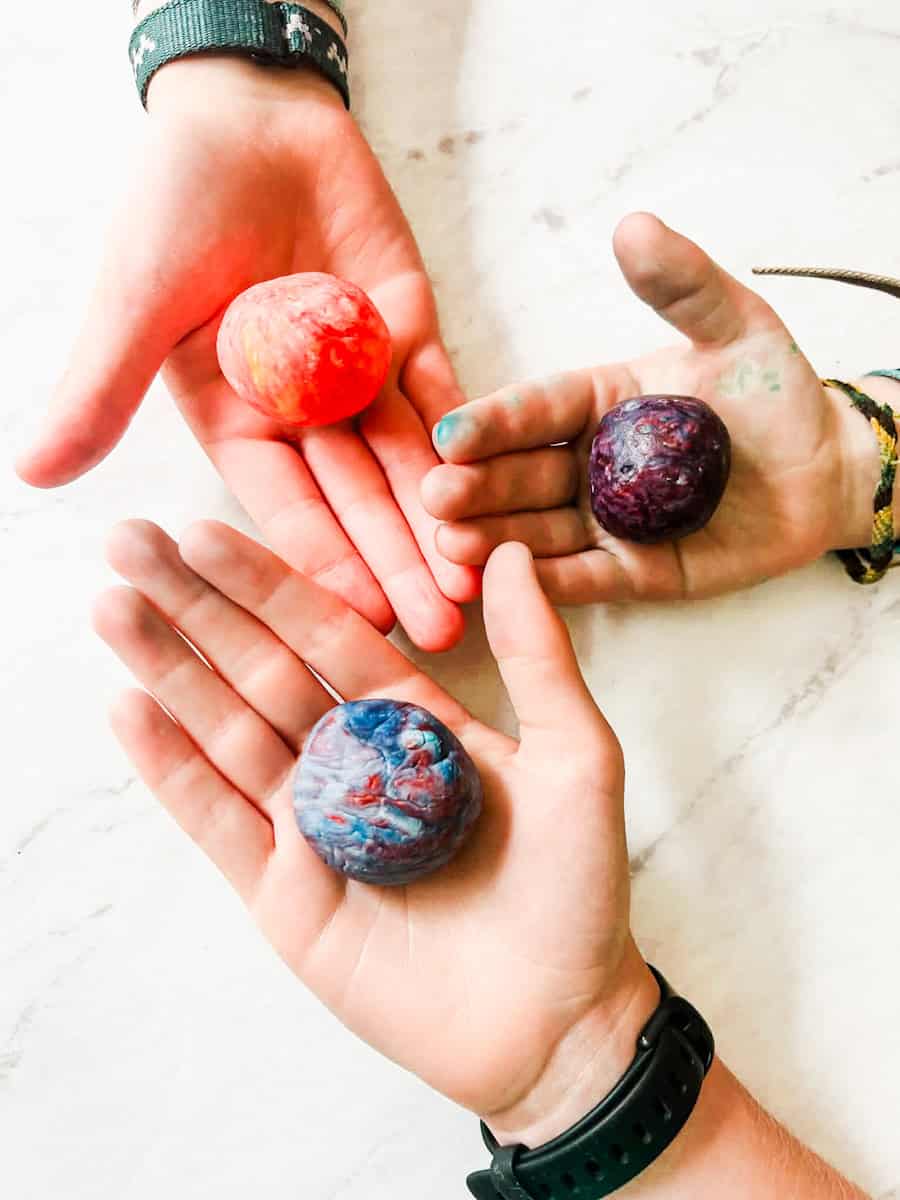
Quick Look: How to Make Bouncy Balls
- ⏱ Prep Time: 5 minutes
- 🧪 Activity Time: 15-20 minutes
- ⏳ Total Time: About 20 minutes
- 🎯 Ages: Preschool through middle school
- 👌 Difficulty: Easy
- 💡 Why This Works: This simple STEM activity combines chemistry, creativity, and hands-on learning while giving kids a chance to make, and test, their own homemade bouncy balls.
SUMMARIZE & SAVE THIS CONTENT ON
This post contains affiliate links, which means I will make a small commission at no extra cost to you. Please see my full disclosure here.
This experiment reminded me that sometimes the best learning happens through trial and error. We made batch after batch, adjusting the recipe a little each time, and by the end, my boys weren't just excited about the finished bouncy balls, they were proud of all the experimenting it took to get there!
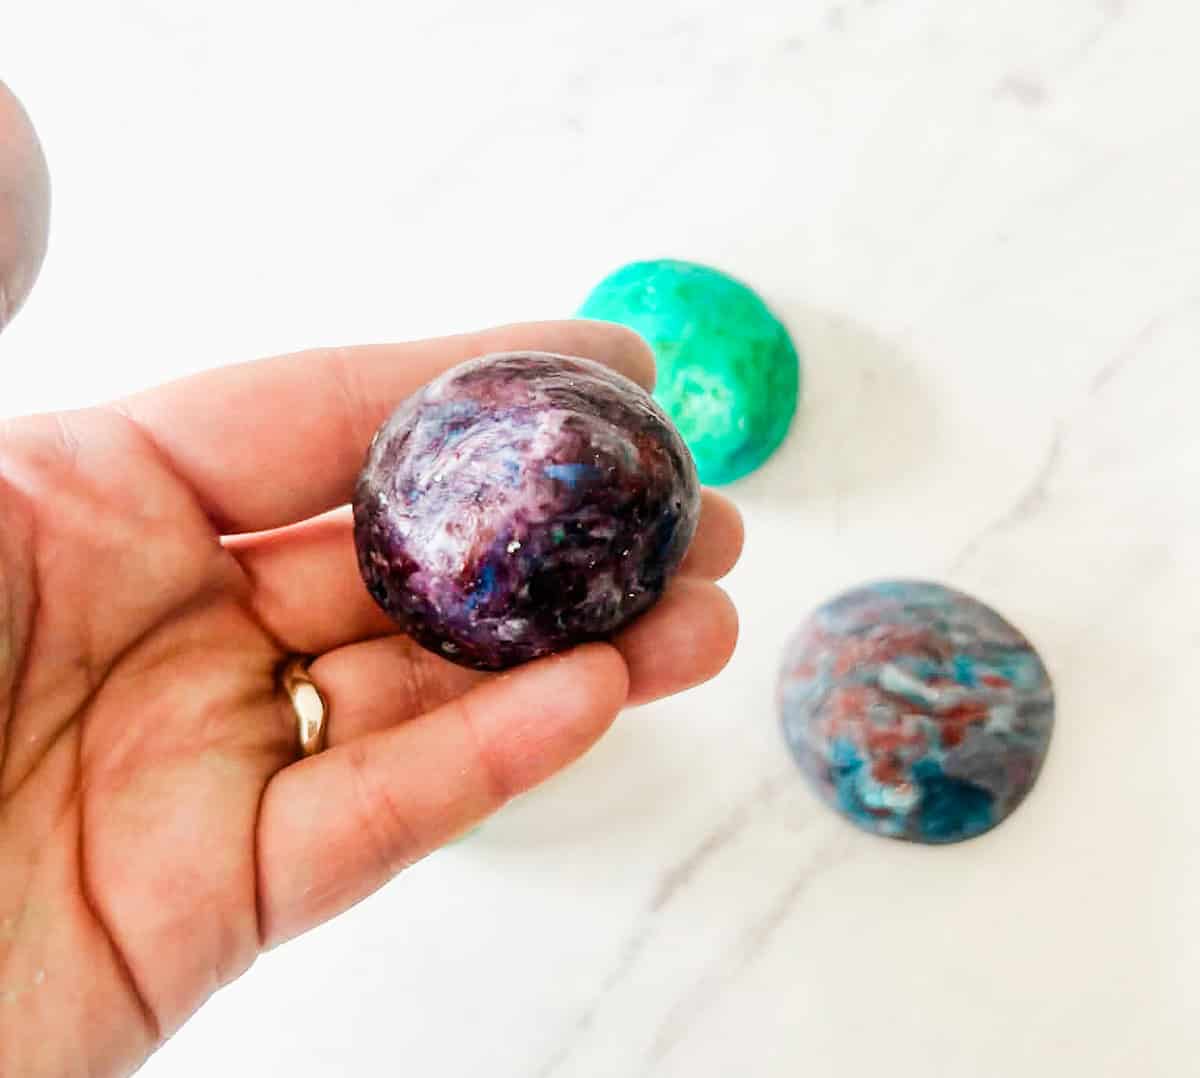
One thing to know before you begin: these are homemade bouncy balls, so they won't bounce quite like the rubber balls you buy at the store. They do bounce (which is always exciting!), but part of the fun is experimenting to see how changing the recipe affects the results.
We love doing science experiments in our house and recently enjoyed doing this dancing raisins experiment! If you have extra glue left over after this experiment I highly recommend trying this raised salt painting activity too!
Jump to:
Key Ingredients
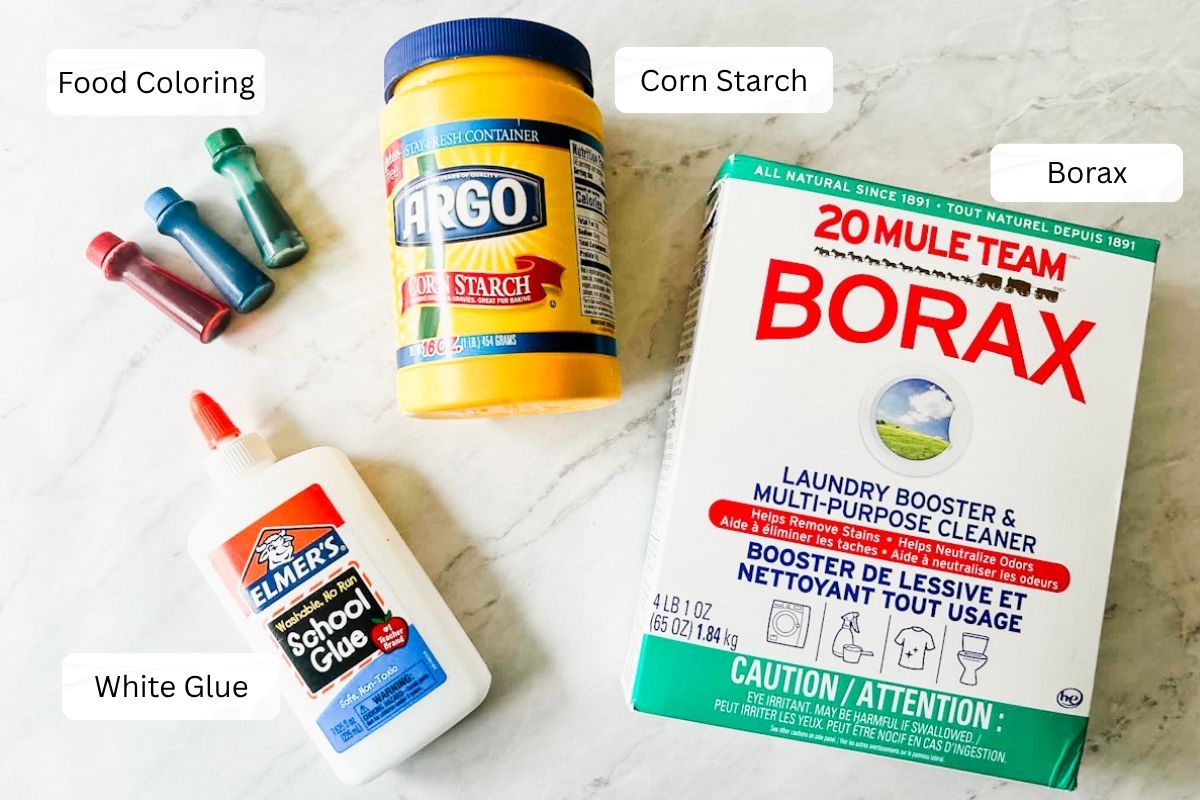
- Cornstarch: Cornstarch helps give the bouncy ball its smooth texture and adds structure to the mixture. It also makes the ball easier to shape and roll in your hands as it comes together.
- Borax Powder: Borax is the ingredient that makes the science happen! When mixed with the glue, it creates a chemical reaction that links the glue molecules together, transforming the mixture from a sticky liquid into a stretchy, moldable solid.
- Adult Supervision: This activity uses borax powder and should be completed with adult supervision. Borax is not meant to be eaten or inhaled, so remind children to keep it away from their mouths and wash their hands after the activity.
- White Glue: White school glue is the main ingredient that forms the bouncy ball. The glue contains polymers (long chains of molecules) that react with the borax solution, giving the ball its flexible, rubbery texture.
Note To Parents: This activity uses borax powder, so adult supervision is recommended. Remind children not to taste any of the ingredients, and have everyone wash their hands after making their bouncy balls.
How to Make Homemade Bouncy Balls
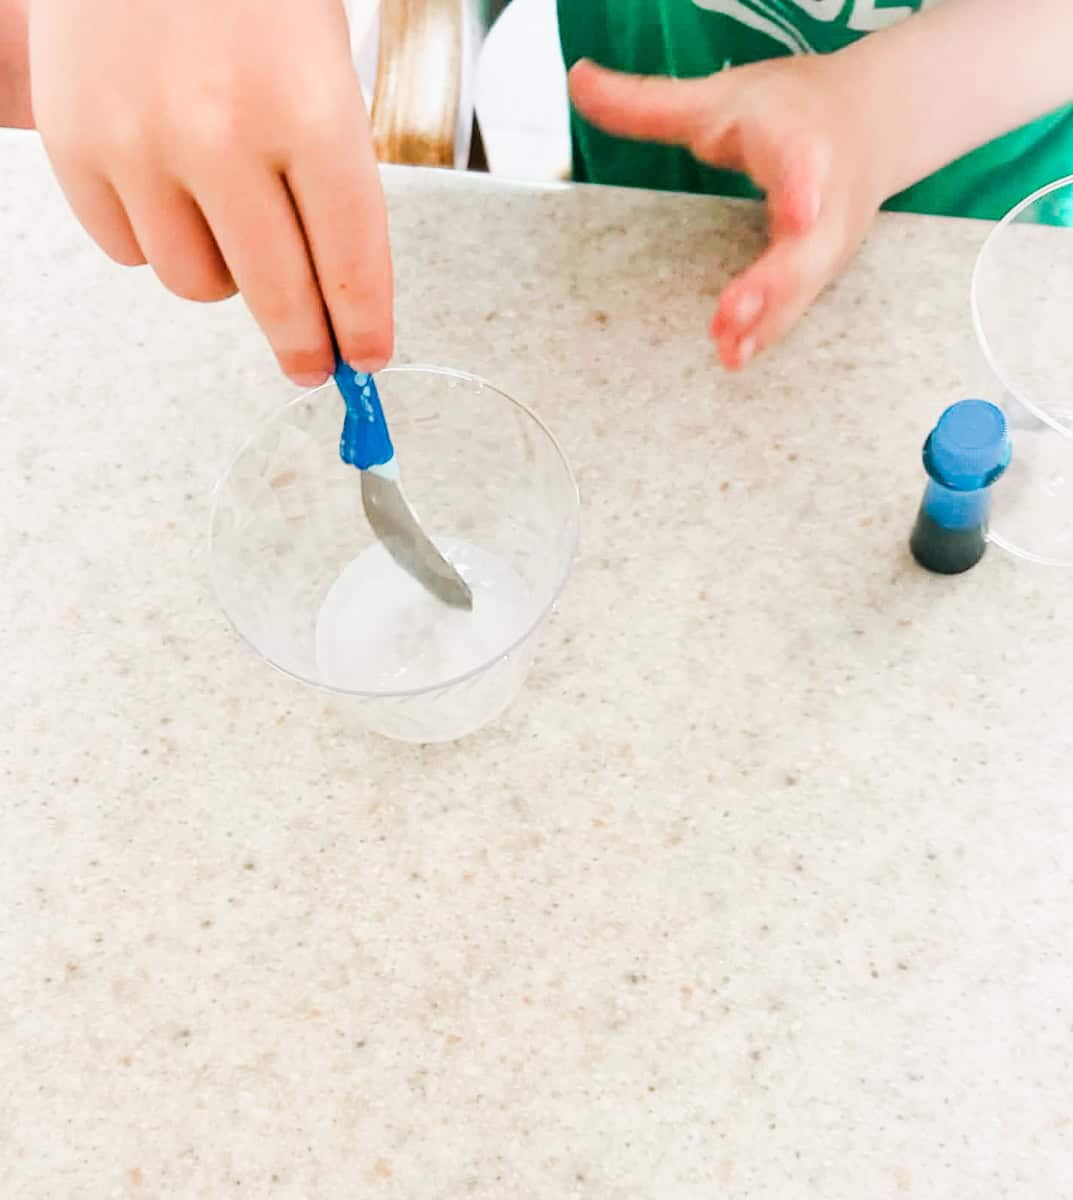
Step 1: In a small bowl, combine ½ teaspoon borax powder and 2 tablespoons warm water, stir until the borax dissolves completely. This is your borax mixture.
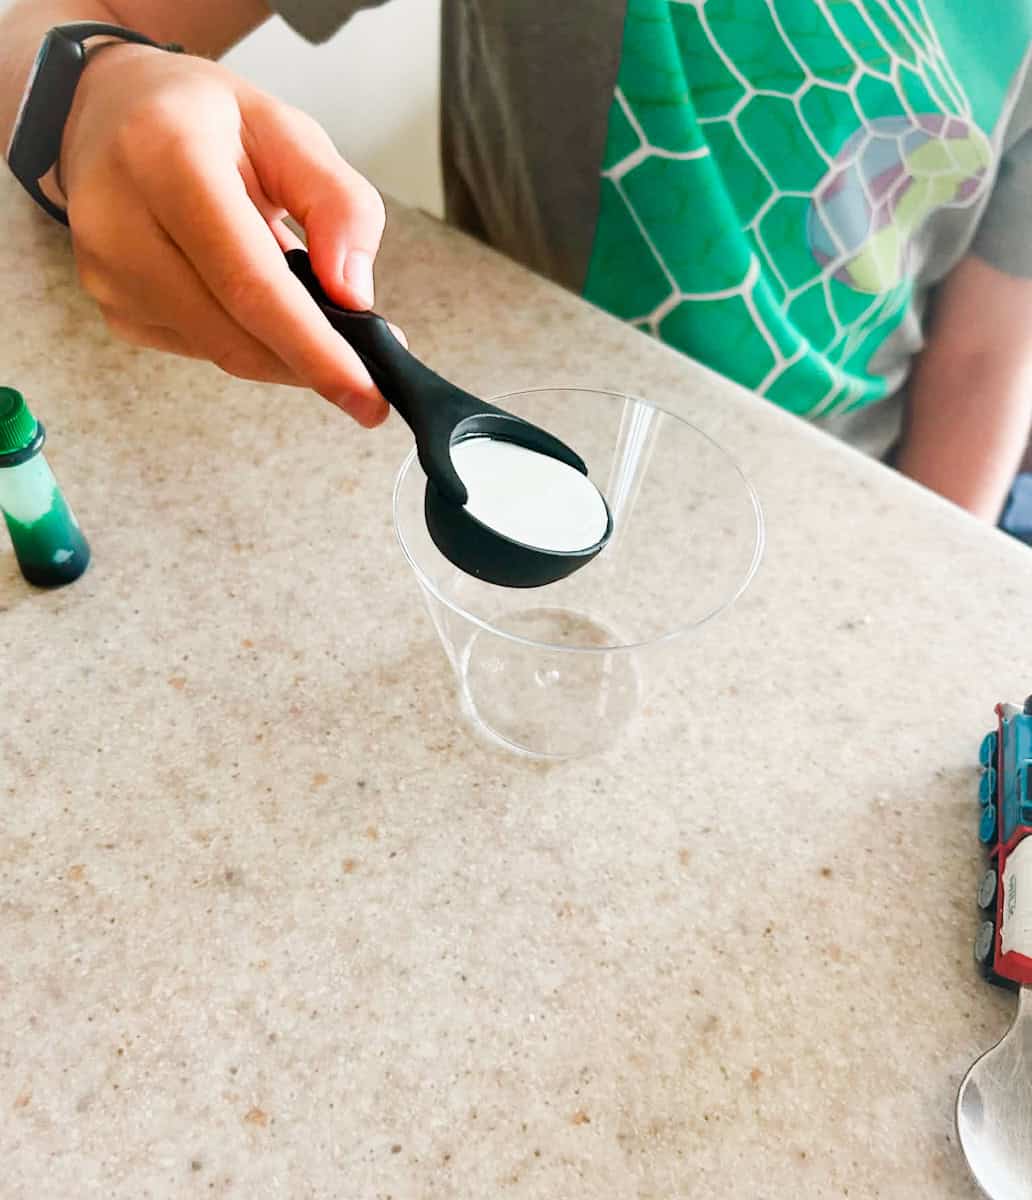
Step 2: In a separate bowl add 1 tablespoon white glue. Add a few drops of food coloring to the glue if you would like colorful bouncy balls.
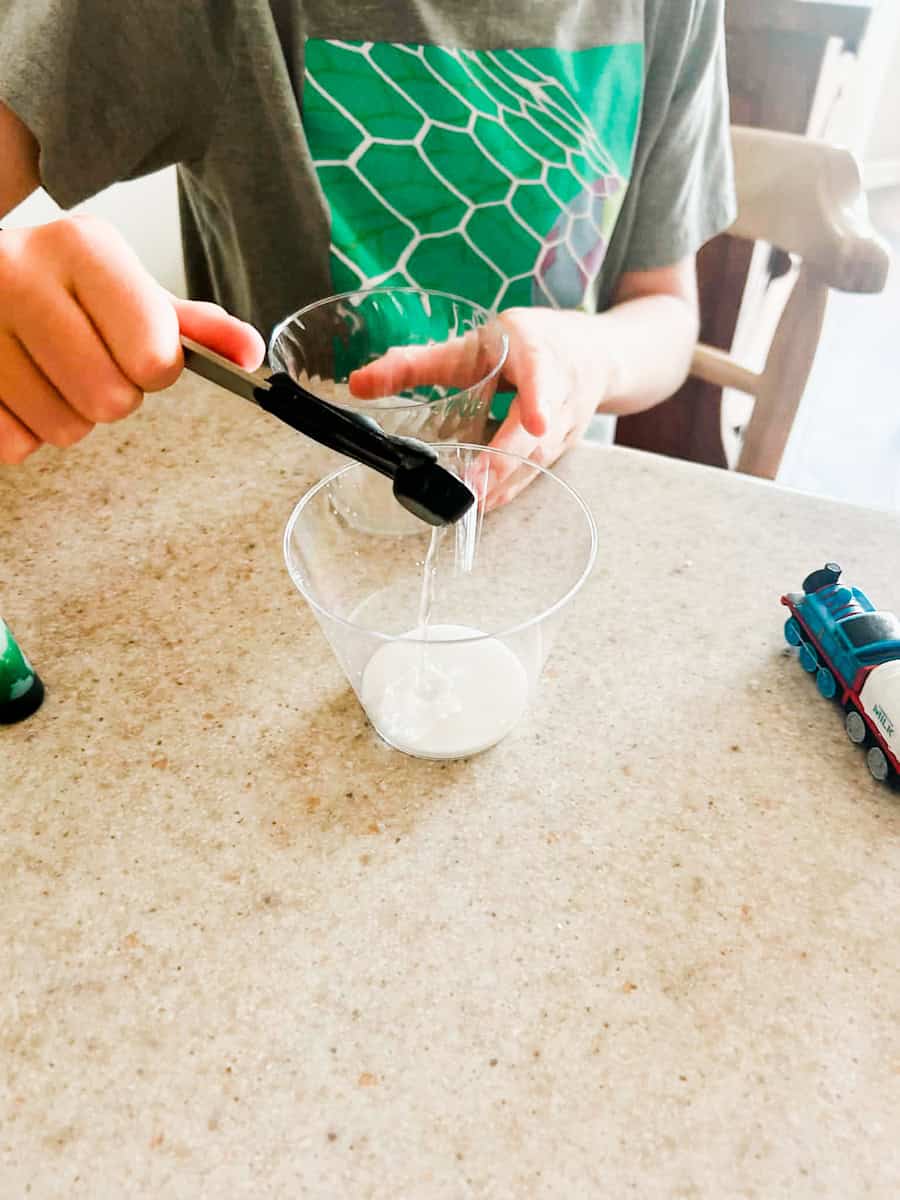
Step 3: Add 2 teaspoons of the borax solution and 1 tablespooon cornstarch to the glue and let everything sit for 10-15 seconds before stirring!
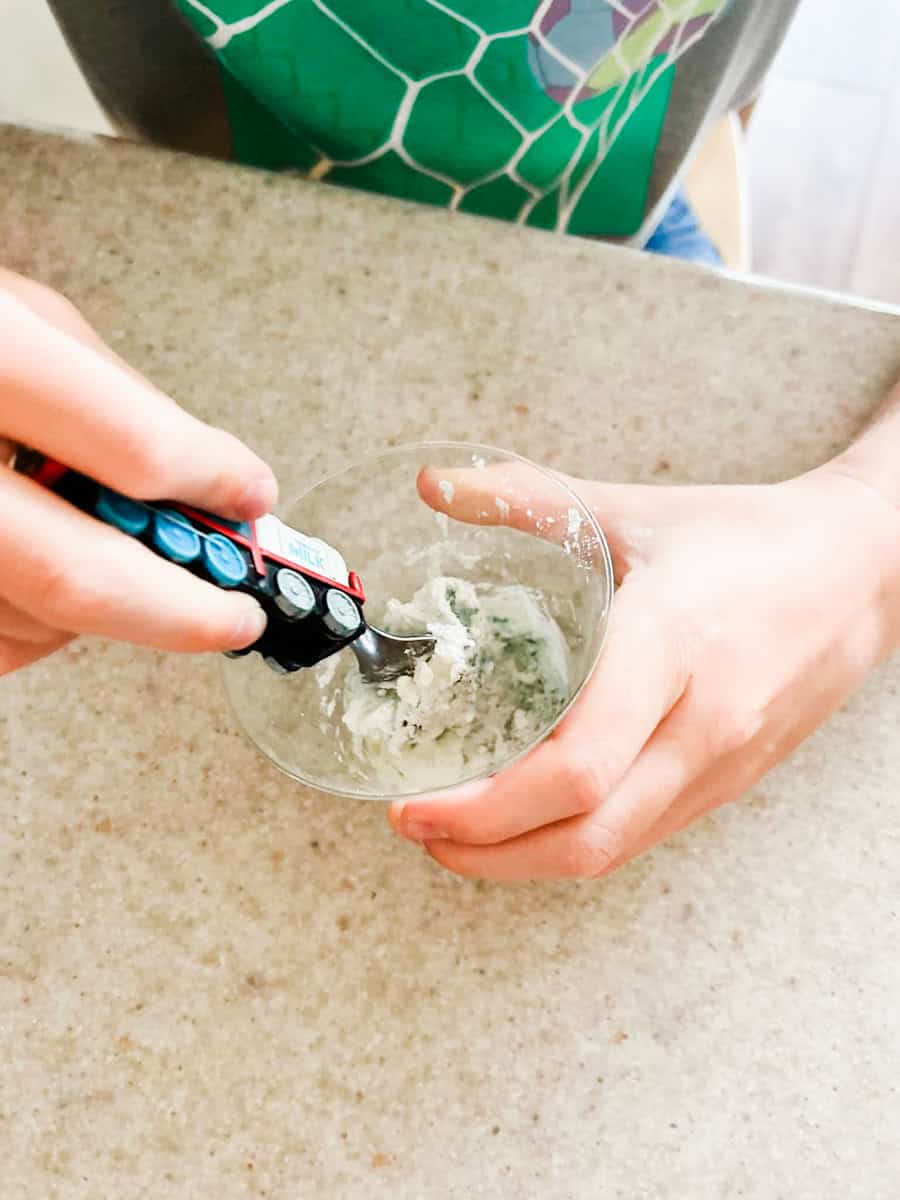
Step 4: Stir the mixture until it becomes too thick to mix easily.
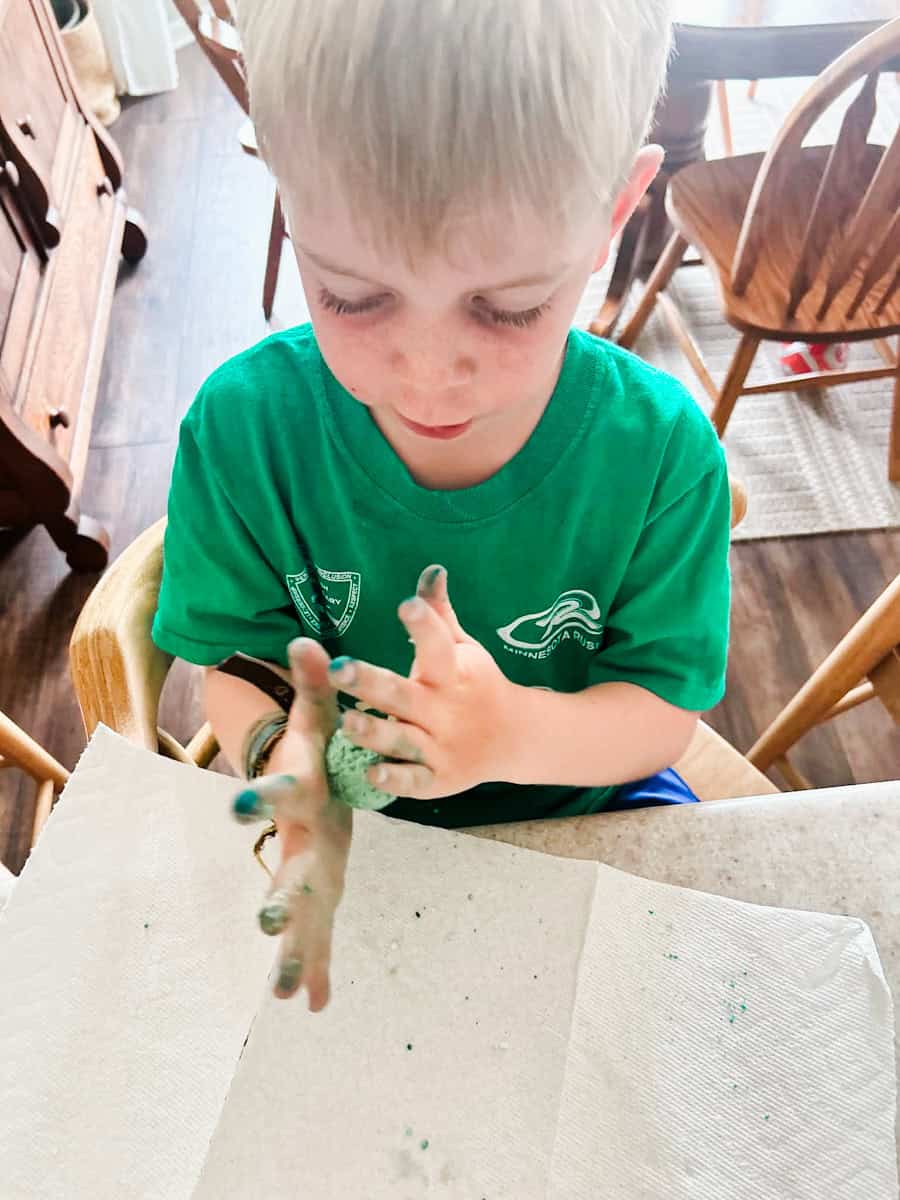
Step 5: Remove the mixture from the bowl and begin rolling & kneading it between your hands. It may feel sticky at first but as you continue rolling it it will quickly become firmer and shape into a ball.
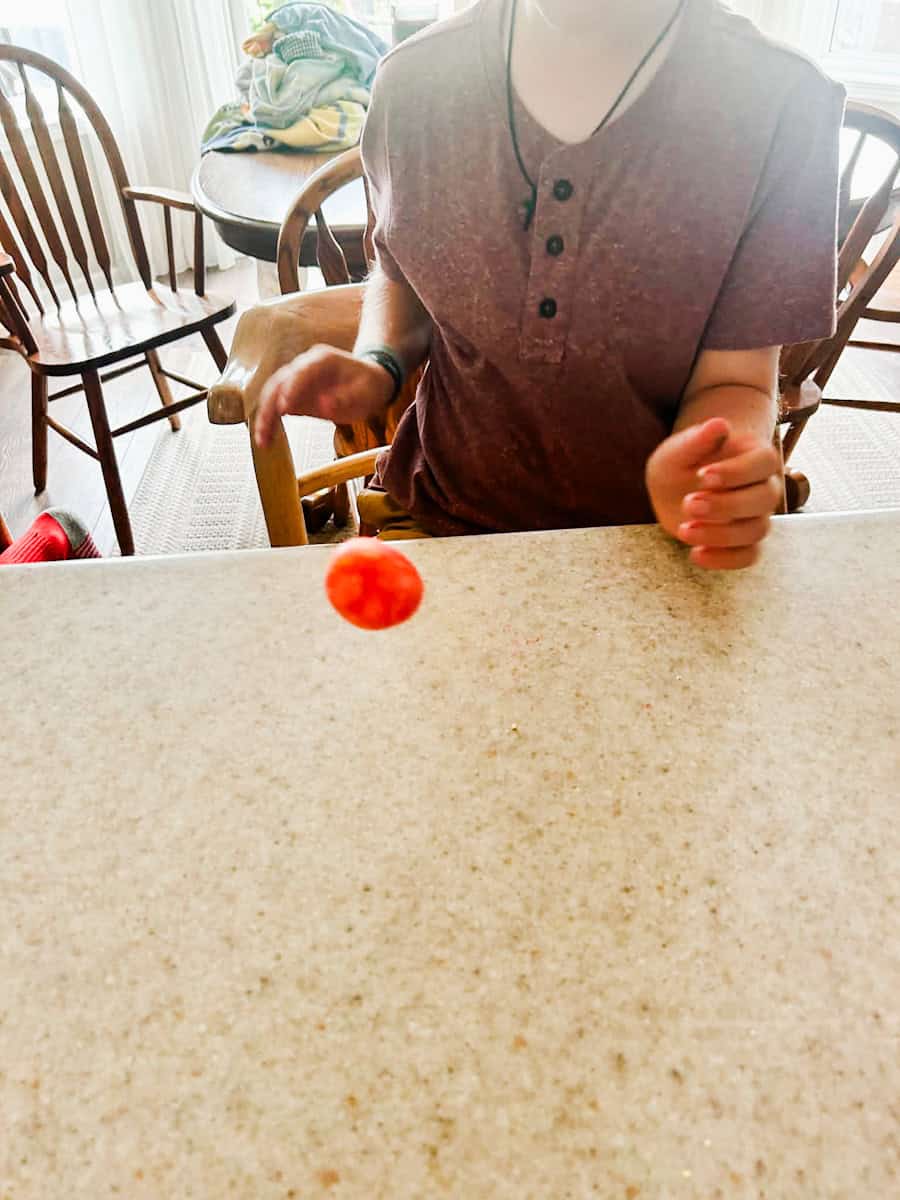
Step 6: Once your ball is no longer sticky, it's ready to test!
Hint: If your mixture isn't firming up enough to roll into a ball, add about ½ teaspoon more borax solution and continue kneading. Sometimes that's all it needs to come together.
The Science Behind the Bouncy Ball
One of my favorite parts about this activity is that kids are learning chemistry without even realizing it.
When the borax solution mixes with the glue, it links the glue molecules together to form long chains called polymers. These linked molecules change the glue from a liquid into a flexible solid that can bounce.
This science experiment is a great way to introduce concepts like making predictions, observation results, comparing outcomes and following directions.
Learning Opportunities
Try asking questions like:
- Which ball bounced the highest?
- Why do you think some bounced better than others?
- What happens if you make a larger ball?
- What happens if you add a little more borax solution?
Tips for Success
- Use warm water so the borax dissolves completely.
- Don't skip the 10-15 second waiting period before stirring.
- Keep kneading, the ball gets smoother the longer you roll it.
- Make several different colors and experiment with color mixing.
Homemade Bouncy Ball FAQs
Homemade bouncy balls have a softer texture than rubber bouncy balls you find in the store, so they won't bounce quite as high. That's completely normal! The fun is in making them yourself and experimenting with the recipe.
Borax is what creates the chemical reaction that gives the bouncy ball its structure. Without it, the mixture won't form the same stretchy, moldable ball so we don't recommend trying to make it without.
They're best enjoyed the day they're made, but storing them in an airtight container will help them stay soft for several days. If you leave them out they will dry out within 24 hours. Your bouncy ball may flatten a little bit when left out but you can easily shape it back into a ball.
Borax is a common ingredient used in many classroom science experiments because it helps create the chemical reaction needed to form the bouncy ball. Since it is not meant to be eaten or inhaled, an adult should supervise the activity, and children should wash their hands after handling the finished bouncy balls. As with any science activity, keep all ingredients out of reach of young children when not in use.
More Science Activities Kids Will Love
If your kids enjoyed making these DIY bouncy balls, be sure to check out some of our other favorite science activities:


If you tried this homemade bouncy ball recipe or any other activity on our blog please leave a 🌟 star rating and let us know how it went in the 📝 comments below. Thanks for visiting!


Comments
No Comments