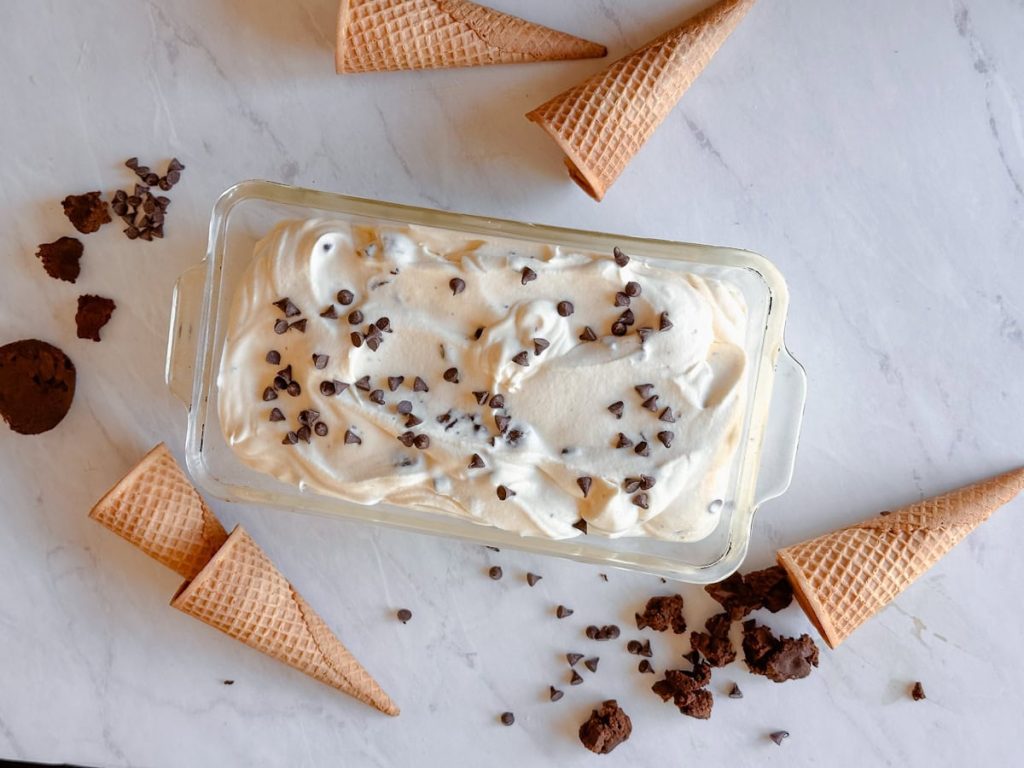
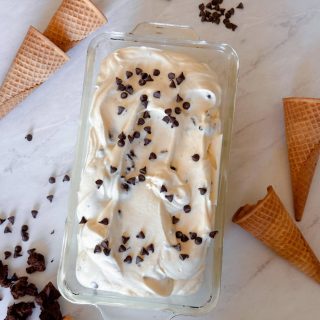
This no-churn ice cream recipe requires just three ingredients and no special equipment. It is so easy to make and is sure to be a crowd pleaser!
We love ice cream in our house but we don’t have an ice cream maker so I was on the hunt to create a recipe that was as delicious as it was easy to make. This easy recipe has been a hit and I love that we can add in different toppings depending on the season or what sounds good that day.
If you are looking for other quick summer treats you would also enjoy this frozen yogurt bark with berries and these banana yogurt popsicles!
For the recipe today we added chocolate chips, egg-free chocolate cookie dough and a dash of sea salt (which was absolute perfection!). You really only need whipping cream and sweetened condensed milk to make ice cream, however it is fun to add in different toppings and we almost always add a little vanilla to our mix, which is reflected in our recipe as well.
If ice cream is a favorite dessert in your house, like ours, I highly recommend this recipe. It is such a sweet treat on a warm summer day and I love that we can whip it up in just a few minutes and 4-5 hours later it is ready for us to enjoy. 😊
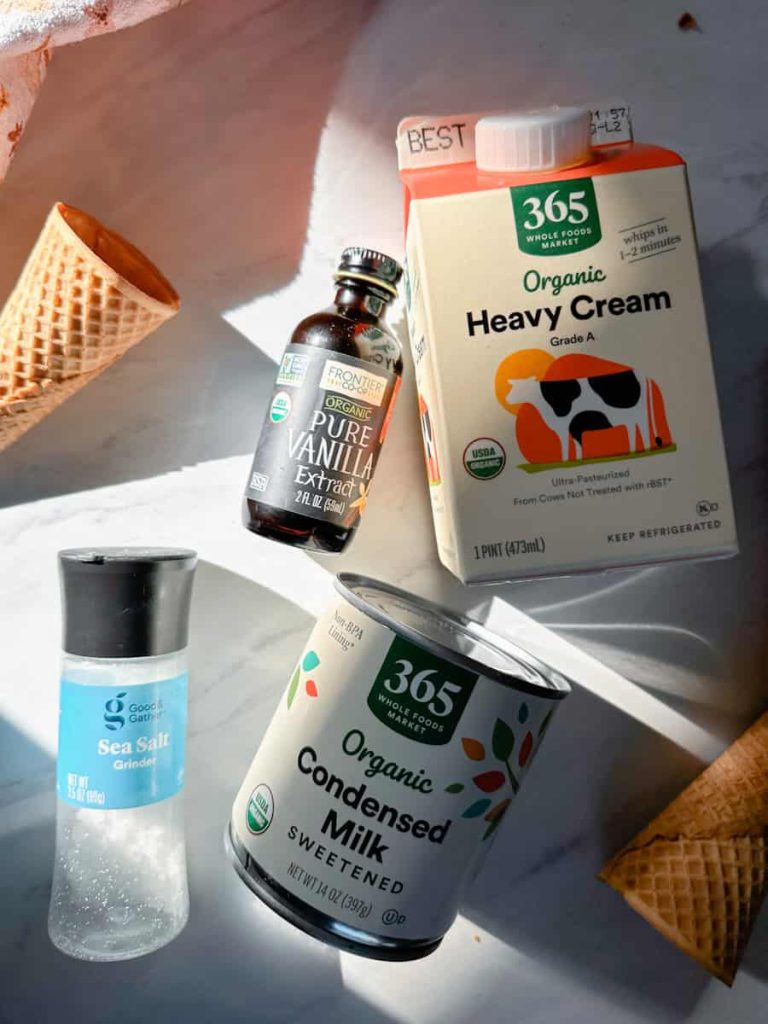
Ingredients
- Pure vanilla extract
- Heavy whipping cream
- Sweetened condensed milk
- Ice cream toppings
How To Make Your Ice Cream
Combine the sweetened condensed milk and vanilla in a small mixing bowl, whisk together and set aside
Pour the heavy whipping cream into a chilled metal mixing bowl
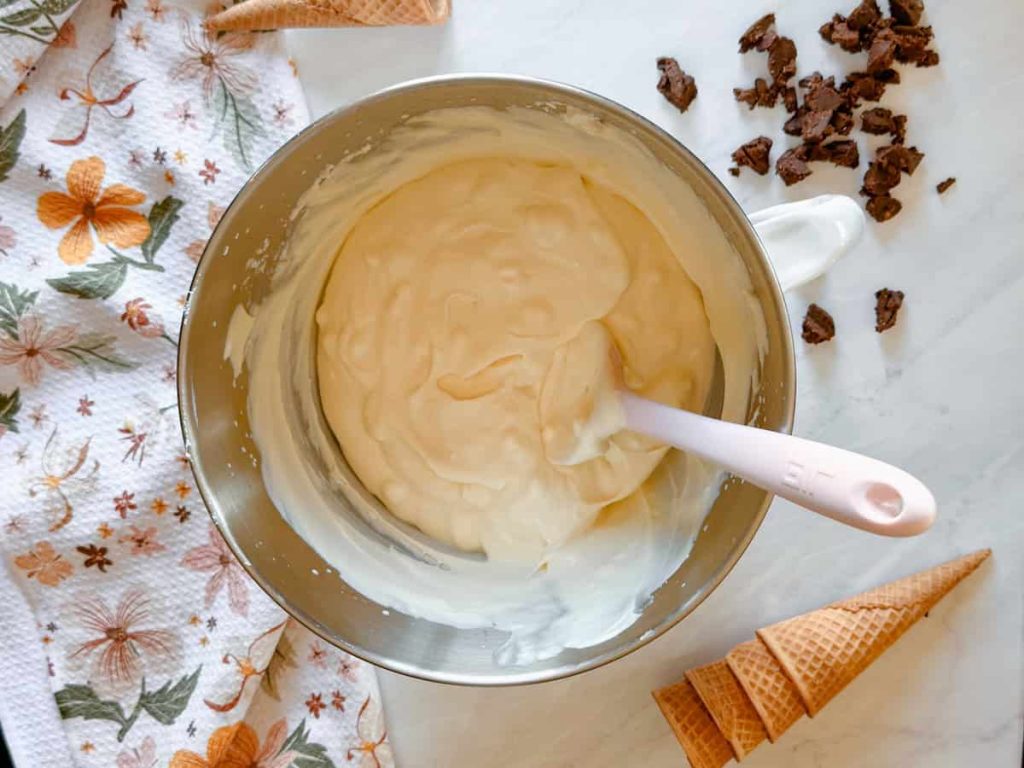
Beat the heavy cream until you get stiff peaks- making sure not to over beat the cream- I recommend using a hand mixer or stand mixer for this step
Combine the sweetened condensed milk mixture into the whipped cream, folding it together until combined
Add toppings, I used eggless cookie dough and chocolate chips but have listed other options below
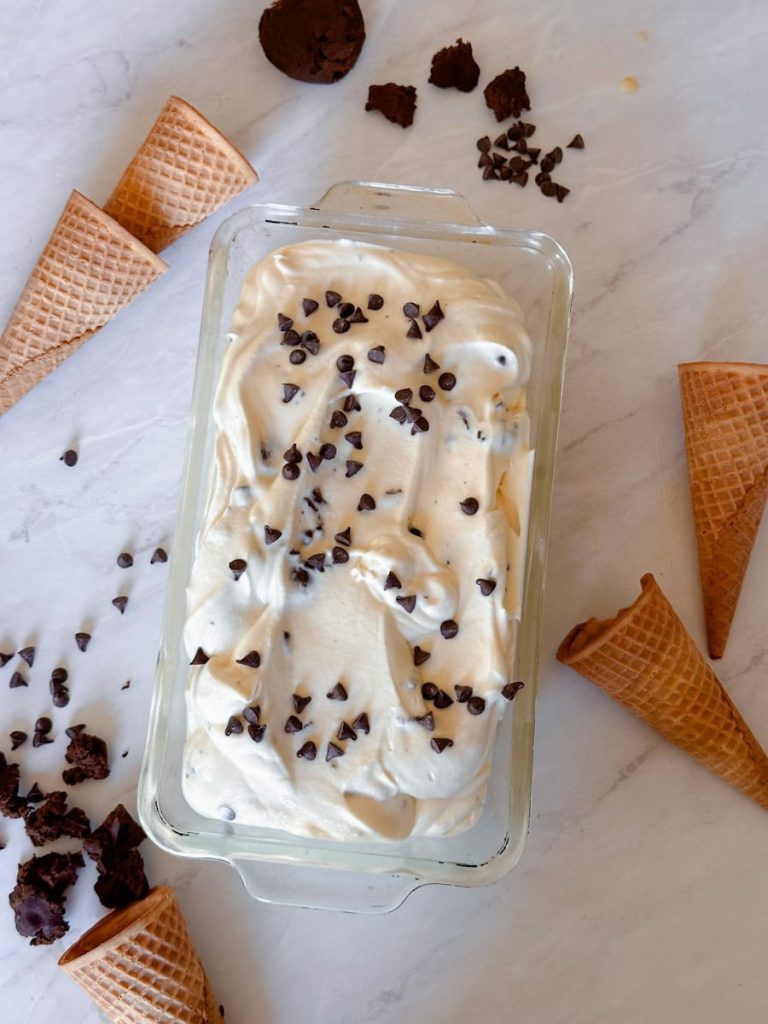
Pour the mixture into a pan that is able to hold 6 cups- I used a bread pan
Cover with plastic wrap and freeze for 4-6 hours
Take out, let sit for about 5 minutes for a creamier texture and enjoy!
Tips When Making Your Ice Cream
Be sure not to over beat your heavy cream, if you do this the cream will actually lose its stiffness and turn back into a liquid
You can use a metal bread pan if you are short on time and wanting it to set faster when in the freezer
Line your bread pan with parchment paper for quick clean up
Topping Variations
You could keep this recipe as is and will get a delicious homemade vanilla ice cream. However we love using this base recipe and then switch it up with our favorite toppings.
Here are some of our favorite add-ins:
- Chocolate chips
- Egg-free cookie dough
- Fresh fruit
- Brownies
- M&Ms
- Heath pieces
- Caramel sauce
- Peanut butter cups
- Homemade chocolate sauce
- Crushed candy canes for a holiday twist

Serving Suggestions
- Serve in bowls or cones
- Top with sauces, sprinkles or fresh fruit
- Use as a filling for ice cream sandwiches
How To Store
This ice cream is best fresh, right after those 4-6 hours of freezer time, however can last a few weeks in the freezer when stored properly.
For storage I recommend using an air tight, freezer-safe container.
To help prevent ice crystals from forming on the top be sure to put plastic wrap on top of the ice cream before putting a lid on your container.
If you try this ice cream recipe we would love for you to leave a review below!
No Churn Ice Cream
Ingredients
- 14 oz can sweetened condensed milk
- 2 tsp vanilla extract
- 2 cups heavy cream
Instructions
- Combine the sweetened condensed milk and vanilla in a small mixing bowl, whisk together and set aside
- Pour the heavy whipping cream into a chilled metal mixing bowl
- Beat the heavy cream until you get stiff peaks- making sure not to over beat the cream
- Combine the condensed milk mixture into the whipped cream, folding it together until combined
- Add toppings (see list of toppings in post)
- Pour the mixture into a pan that can hold 6 cups (I used a bread pan)
- Cover with plastic wrap and freeze for 4-6 hours
- Take out and enjoy!
Notes
- Be sure not to over beat your heavy cream, if you do this the cream will actually lose its stiffness and turn back into a liquid
- You can use a metal bread pan if you are short on time and wanting it to set faster when in the freezer
- For fast clean up you can line your bread pan with parchment paper
- Cover with saran wrap to help prevent ice crystals developing on the top of the ice cream when it is in the freezer
- Store in an airtight container for up to 2 weeks
Nutrition


So creamy and a great summer treat!