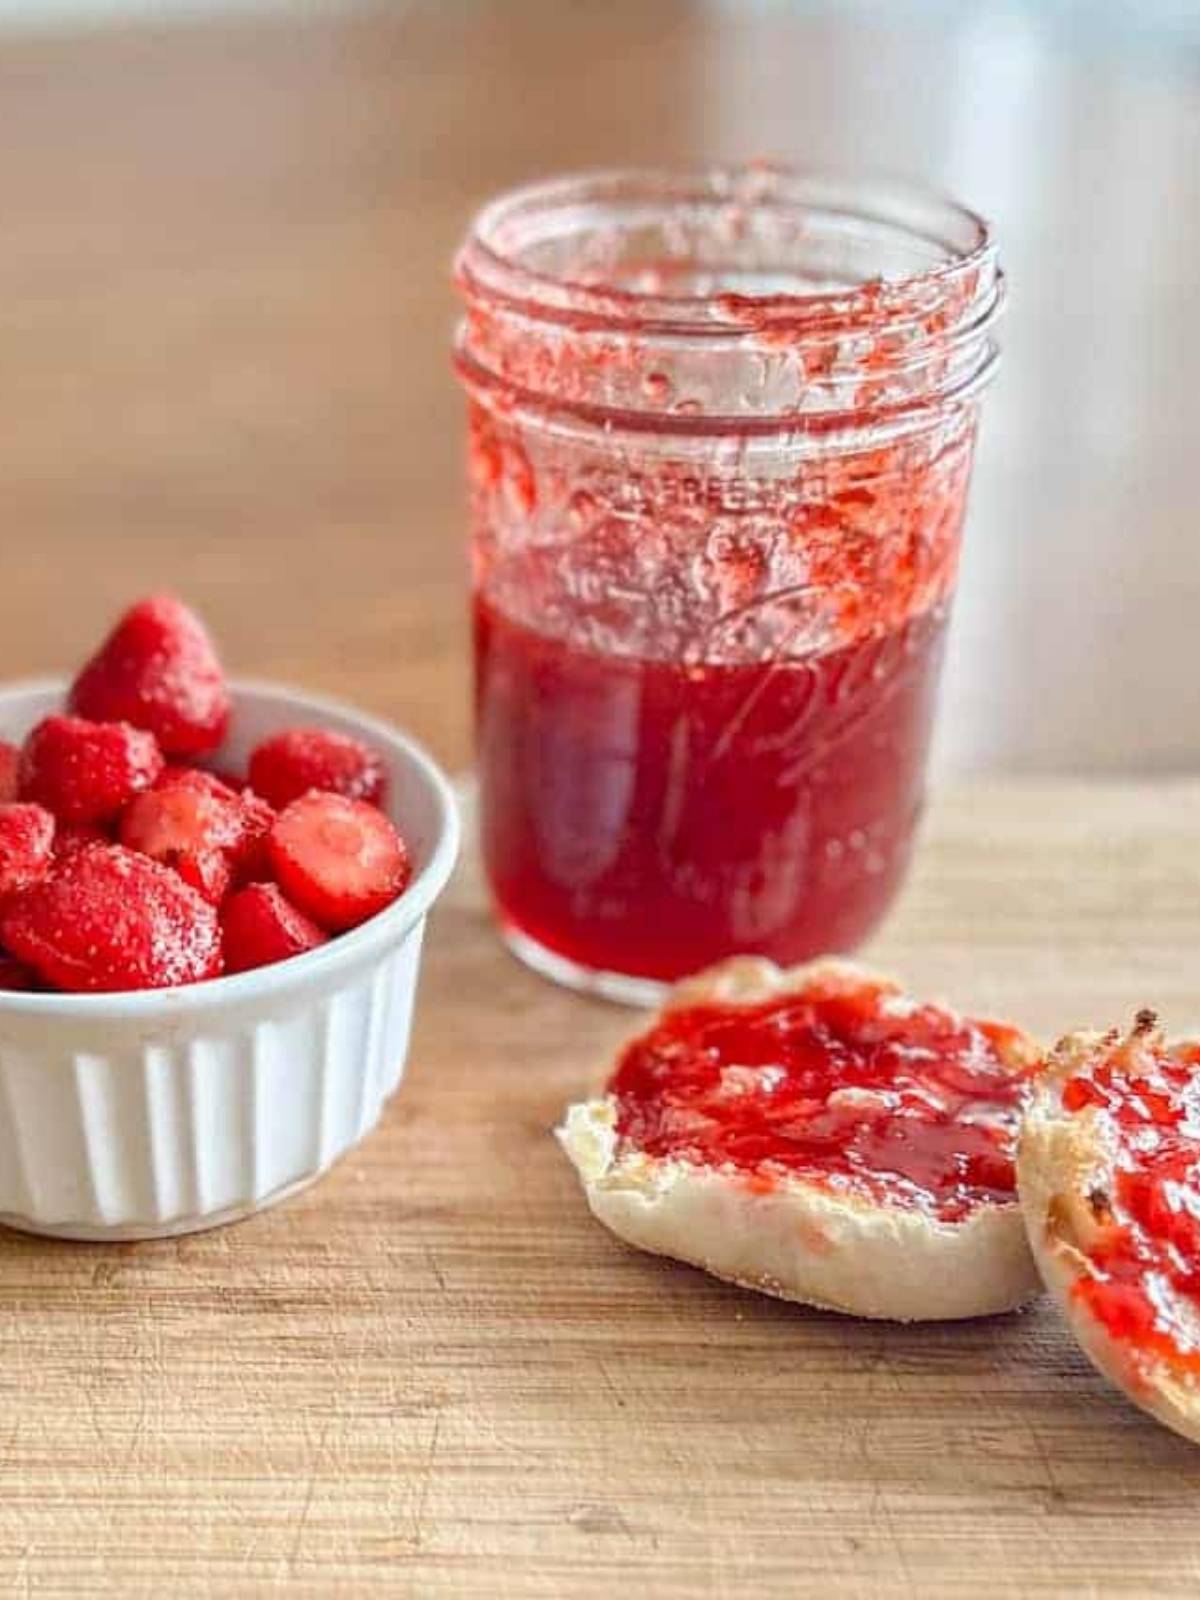
If you're looking for a simple and delicious treat, this easy strawberry jam recipe is just what you need! Whether you're spreading it on toast, making strawberry hand pies, or topping off your favorite dessert, this homemade jam is sure to be a family favorite!
This recipe is perfect for a fun kitchen project with kids or a quick way to preserve the sweet taste of summer. With only three ingredients this is our tried and true recipe that we make every year during strawberry picking time and I'm excited to share it with you!
This post contains affiliate links, which means I will make a small commission at no extra cost to you. See my full disclosure here.
Quick Look: Strawberry Jam
- 🥣 Prep Time: 30 minutes
- 🔥 Cook Time: 45 minutes
- ⏰ Total Time: 1 hours, 15 minutes
- 🫙 Serving: 4 pints
- 🔢 Calories: 45 calories per Tablespoon
- 🍓 Flavor Profile: Fresh strawberry flavor that's sweet and fruity with a smooth, spreadable texture
- 👌 Difficulty: Easy and beginner-friendly- simple steps, minimal ingredients, and perfect for first-time canners or a fun kitchen project with kids
- ✨ Why this Works: This easy strawberry jam recipe has simple ingredients and is perfect for canning so you can enjoy it all year long
SUMMARIZE & SAVE THIS CONTENT ON
On a whim, our family decided to go strawberry picking on the very last day of the season at our local farm. We planned to grab just a few berries for the week… but 45 minutes later we looked down and realized we had picked 16 pounds (and my littlest probably ate that much right off the plants 🙂).
There's nothing better than turning fresh strawberries into homemade jam, so that quickly became our afternoon plan. This easy strawberry jam recipe uses simple ingredients and comes together quickly, whether you're making a small batch or doubling it to stock your shelves for the year.
We've made this recipe for the last 6 years without fail, and my kids absolutely love helping, and eating, every step of the way. This jam would also make a great gift for teachers, neighbors or friends and you could pair it with this "I Love You Berry Much" printable card!
Jump to:
Key Ingredients
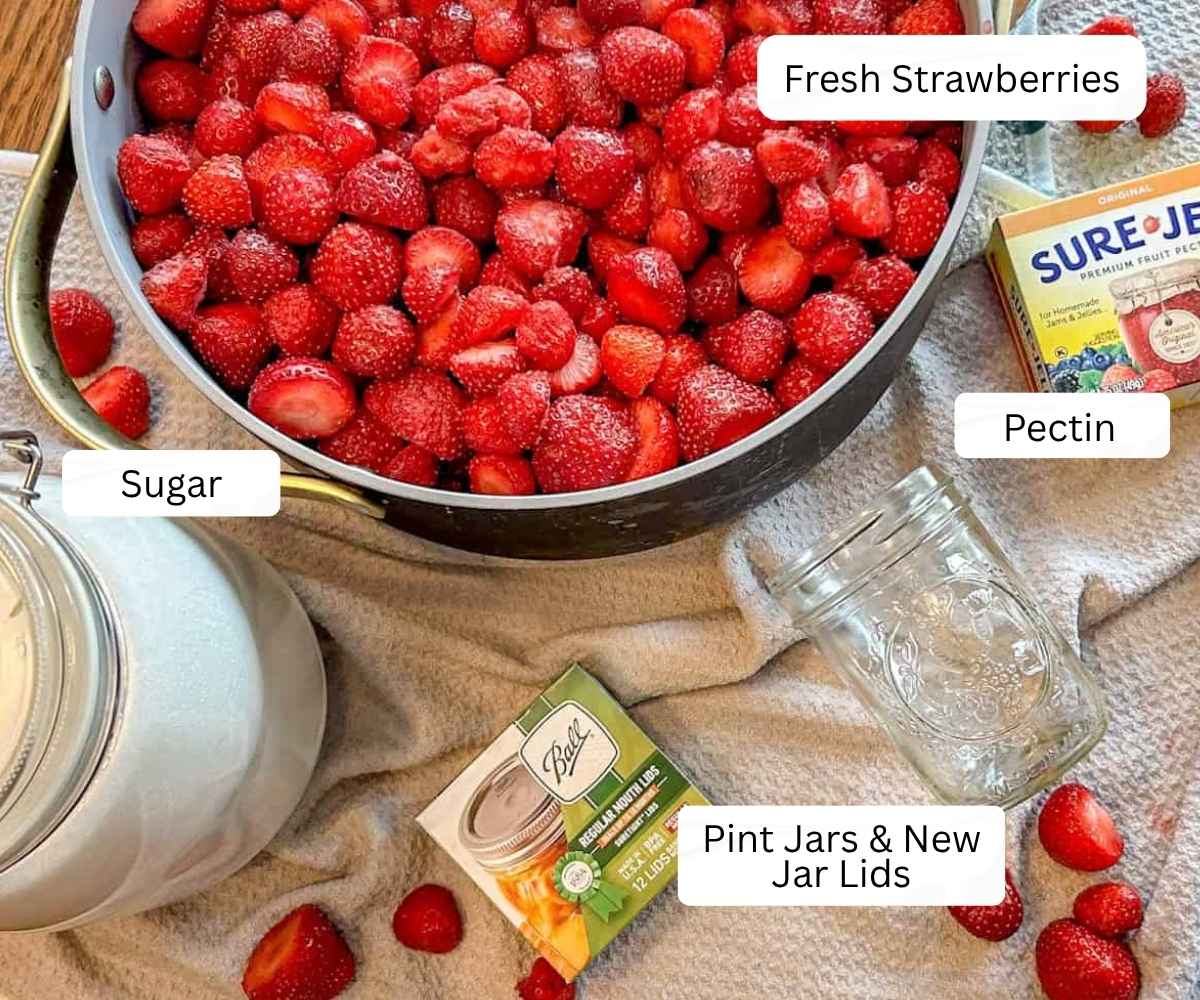
- Strawberries: Fresh, pureed strawberries are the heart of the jam, providing natural flavor, color, and the fruit's natural pectin that helps the jam thicken. (If you have extra strawberries I would highly recommend making this homemade maple whipped cream for a sweet snack!)
- Sugar: Sugar sweetens the jam, preserves it, and works with the pectin to create the proper gel so your jam sets perfectly.
- Sure-Jell pectin: Pectin is the thickening agent that turns your strawberry mixture into spreadable jam instead of syrup.
Supplies Needed For Canning
- 4 Pint Jars
- 4 new jar lids
- 4 jar rings (can be reused)
- Warm bath canner
- Canning jar lifter
- Canning insert
- Food processor
- Funnel
- Large saucepan
How To Prepare Canning Jars

- Wash jars before using them (I run them through the dishwasher to sanitize them but you could also hand wash with hot soapy water)
- Place jars in oven at the lowest heat until you are ready to fill them with hot jam
- Refer to the box of your new lids to see what they recommend to prepare the lids for canning
Canning is an awesome way to preserve food through the year. However there are things to consider when canning to make sure the food stays safe for eating. If you are new to canning I would recommend checking out this home food preservation website to learn a little more about different ways to can and how to do it safely. I always prefer to do water bath canning but there are some other options if this isn't for you.
Ways To Have Your Child Help When Making This Recipe
My kids love to help me in the kitchen. This recipe offers lots of opportunities for small helping hands, however there are some parts of this process that would be best done by an adult.
The best jobs that I have found for kids to help with during this recipe is:
- Measuring out the sugar into a bowl
- Helping put strawberries into the food processor (with supervision as the blade is sharp) and pushing the pulse button to puree
- My oldest likes the job of stirring the strawberries and pectin mixture with supervision
- Once sugar is added into the mixture it becomes really hot and boils quickly, I don't let my kids around the stove during this step to avoid burns
How To Make Homemade Strawberry Jam
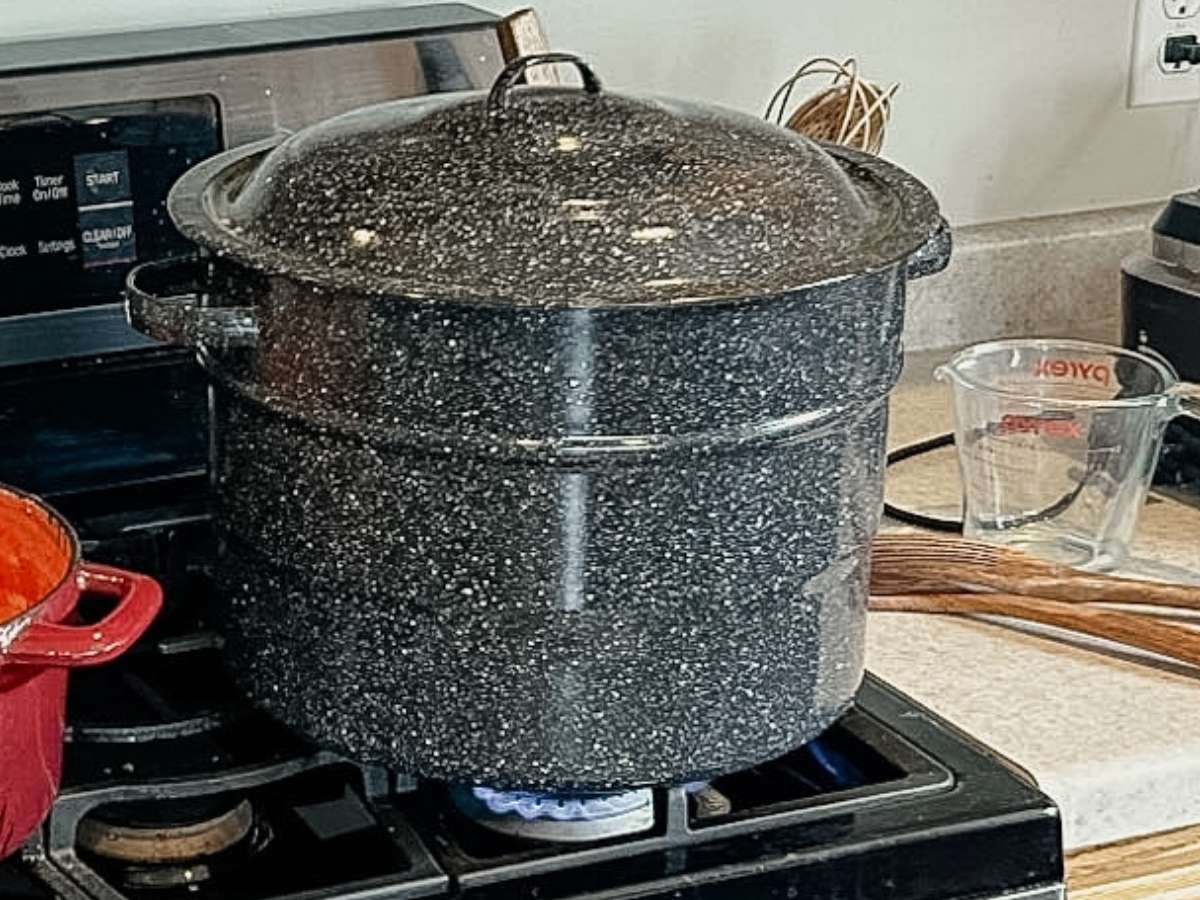
Step 1: Fill your water bath canner with water, place on stove and warm on medium-high heat.
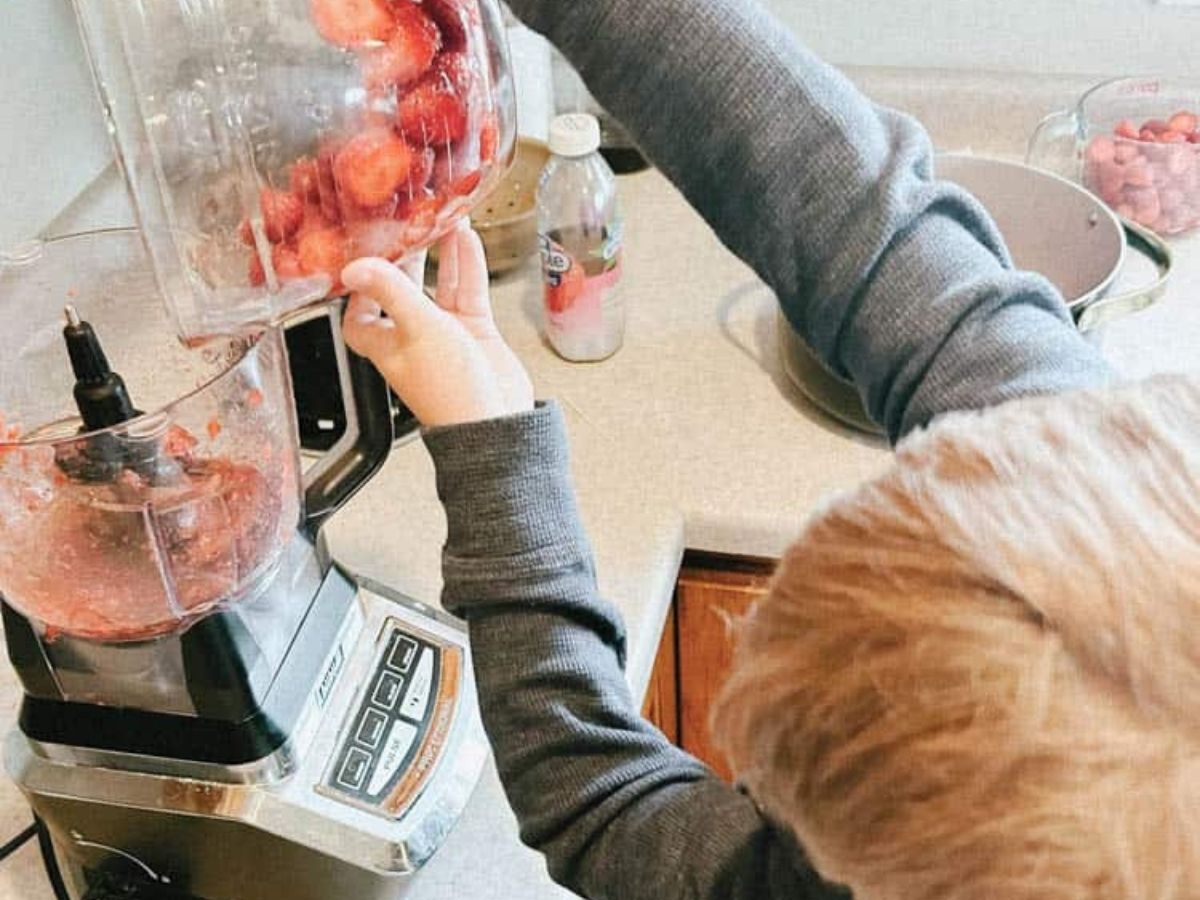
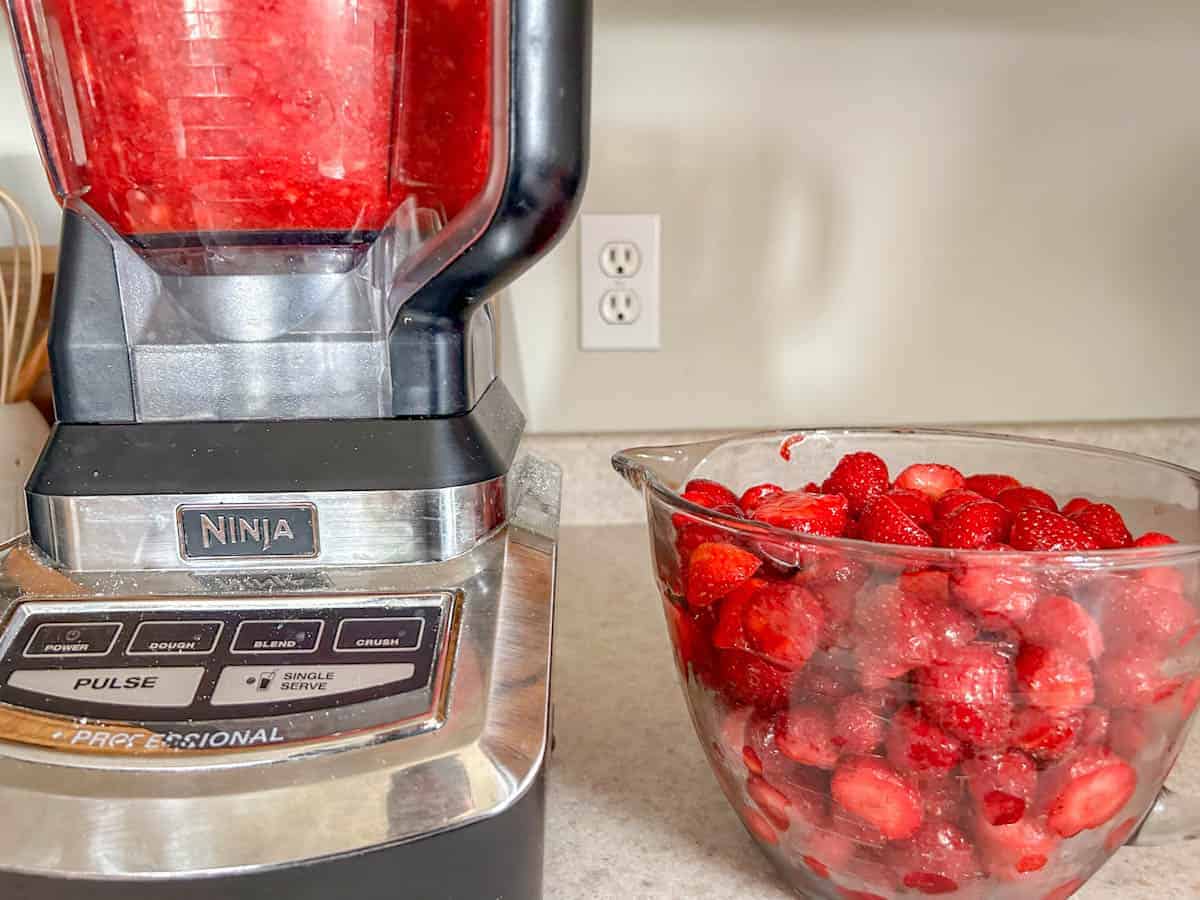
Step 2: Puree 8 cups of fresh strawberries in a food processor. Leaving chunks if you like the texture.
Step 3: Measure 5 cups of strawberry puree and place into a large stock pot. Put stock pot on the stove over high heat. Add the pectin.
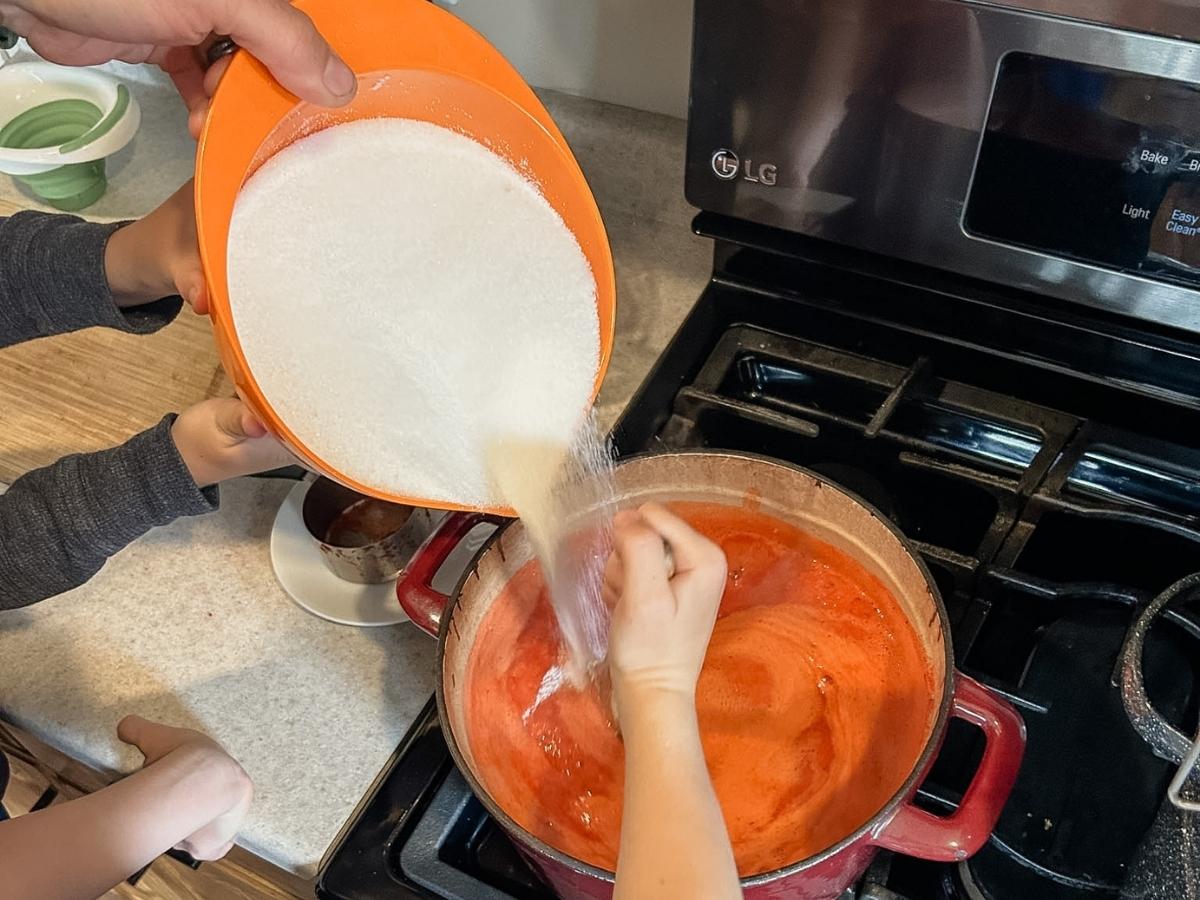
Step 4: Bring to a strong boil (meaning that it continues to boil even when you stir it), make sure you constantly stir the mixture during this process. Add the sugar and mix it in. Bring mixture to a full boil, stirring occasionally.
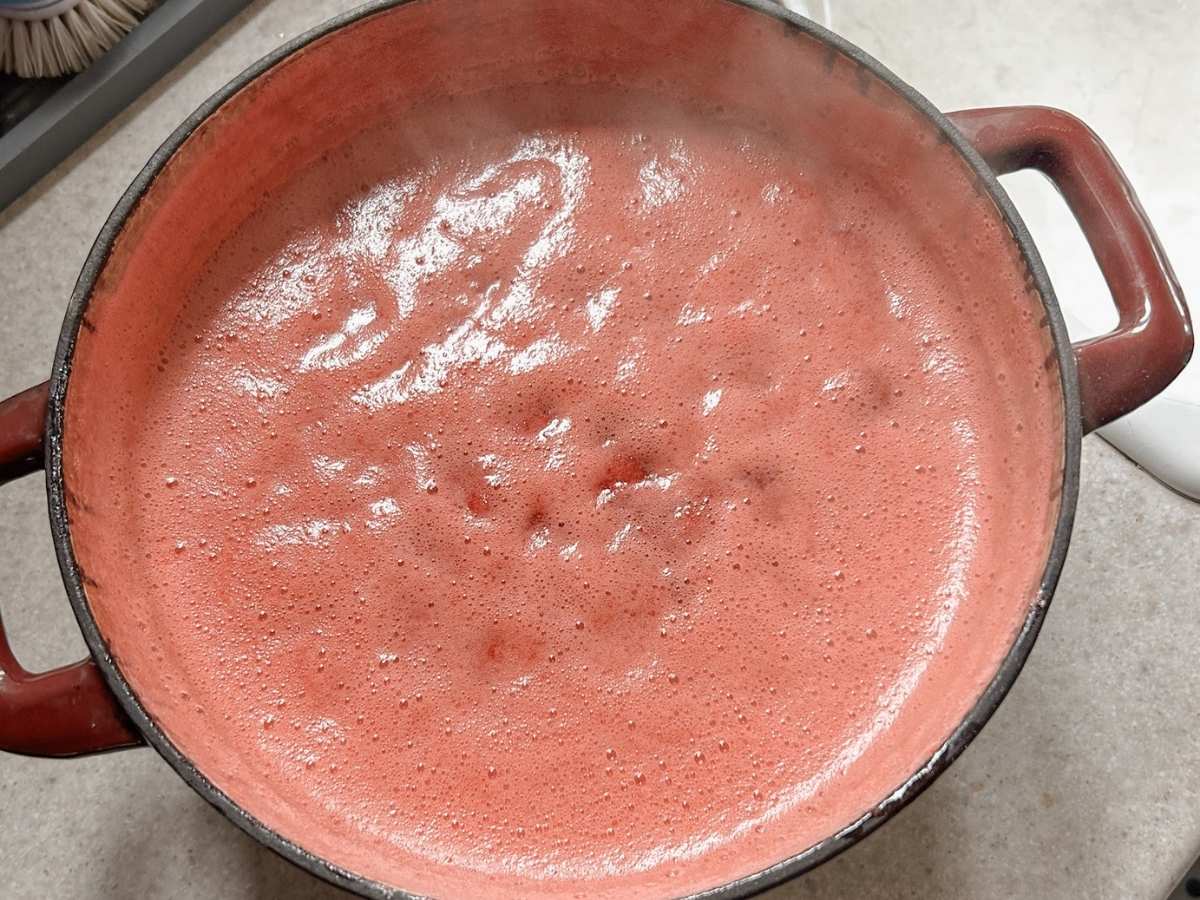
Step 5: Once at a full rolling boil set timer for 1 minute. When timer goes off remove from heat and skim off foam with a spoon.

Step 6: Pour jam into prepared canning jars with a funnel, being careful not to overfill.
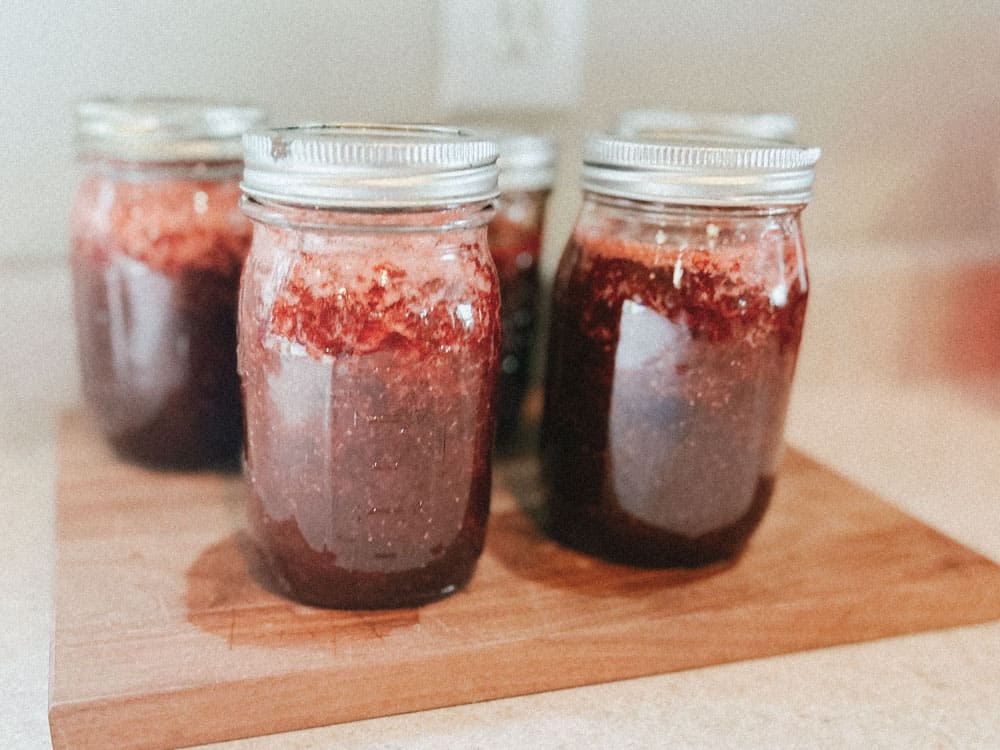
Step 7: Clean the tops of the jars with a clean rag to ensure a good seal. Place a clean, new lid along with lid ring on the jar.

Step 8: Put the jars into water bath canner, water should be softly boiling, and your jars should be completely covered with water when lowered into pot. Boil for 20 minutes. Remove from canner and set on counter to let jars seal and cool.
Homemade Strawberry Jam Recipe FAQs
Nope, you can easily use a potato masher if you don't have a food processor. I find the food processor is faster but you get great results either way!
There are so many delicious ways to use this jam. My kids love it on PB&Js. There is nothing better than an english muffin with jam. We use it to put it on top of ice cream. You could also spread a block of cream cheese on a plate and put the jam on top for a simple snack or appetizer (I promise it will be gone in minutes).
Yes! We have found that it takes a really large pot to cook it all together so we often will do multiple single batches but if you have a large stock pot that can hold 10 cups of pureed strawberries & 14 cups of sugar than go for it!
You should notice a little thickening when you add in the sugar and let it boil, however it is very normal for it to be pretty liquidy when you pour it into the jars. The jam should set within 24 hours of canning it.
When properly canned, your strawberry jam can be stored in a cool, dark place for 1-2 years. For the best flavor and texture, enjoy it within the first year, though the sugar helps preserve it beyond that. Once opened, keep the jar in the refrigerator and use it within a few months.
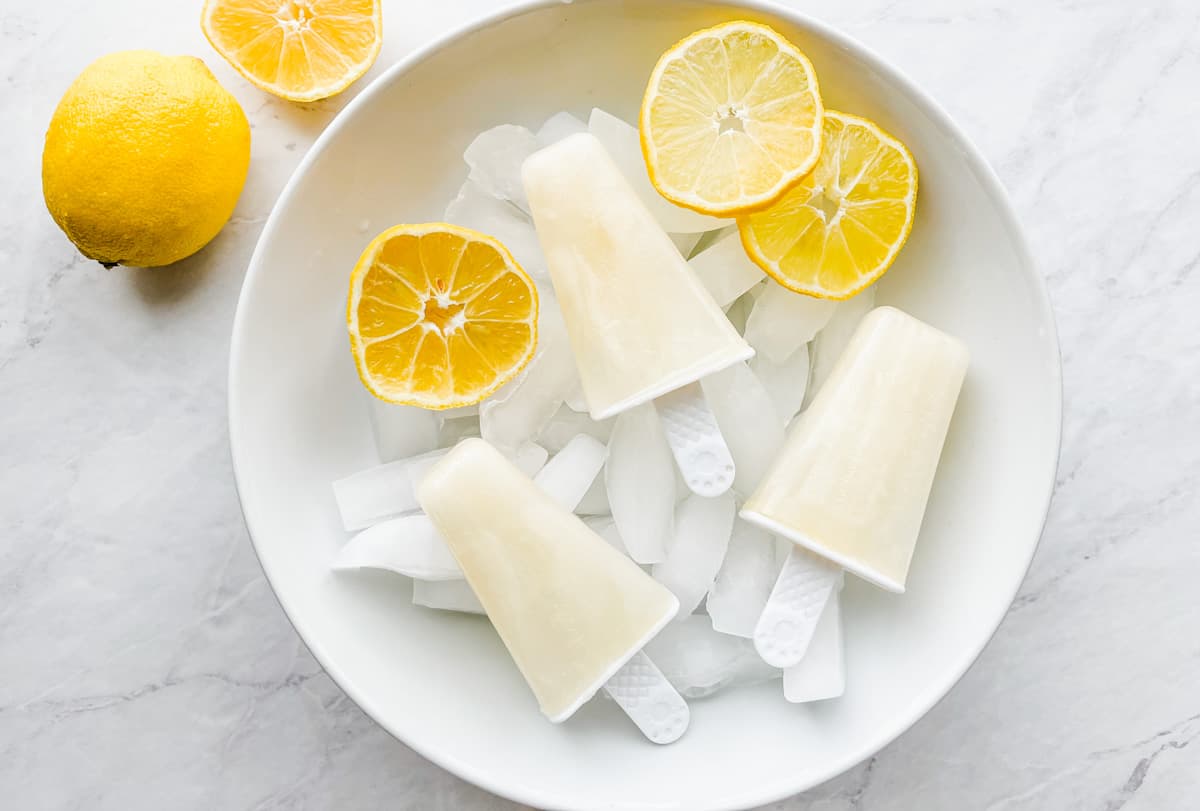
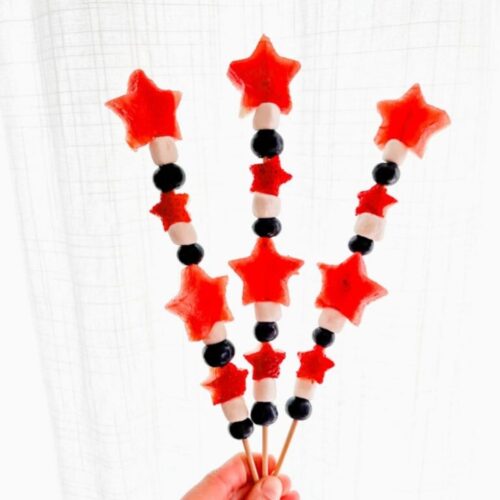
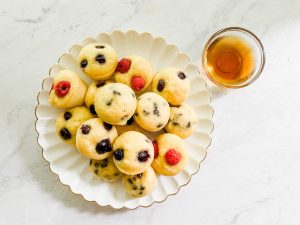
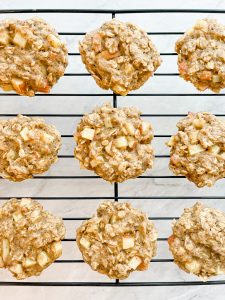
Other Easy Fruit-Based Recipes You Will Love


If you tried this Strawberry Jam recipe or any other recipe on our blog please leave a 🌟 star rating and let me know how it went in the 📝 comments below. Thanks for visiting!
Recipe

Easy Homemade Strawberry Jam (With Pectin)
Equipment
- Regular Mouth Mason Jars 16 oz - (4 Pack) - Ball Regular Mouth Pint 16-Ounces Mason Jars With Airtight lids and Bands - For Canning, Fermenting, Pickling, Freezing, Storage + M.E.M Rubber Jar Opener Included
Ingredients
- 5 cups pureed strawberries About 8 cups fresh strawberries
- 7 cups sugar
- 1 packet Sure Jell
Instructions
- Fill your water bath canner with water, place on stove and warm on medium-high heat while you follow steps below
- Measure out your sugar and set this aside
- Put 7-8 cups of fresh strawberries into a food processor and pulse them until they are pureed, make sure to leave some chunks in it
- Measure out exactly 5 cups of pureed strawberries into a stock pot
- Put the stock pot with the strawberries on the stove over high heat
- Add the sure-jell packet
- Bring to a strong boil (meaning that it continues to boil even when you stir it), make sure you constantly stir the mixture during this process
- Add in the sugar and mix it in
- Bring mixture to a full boil, stirring occasionally
- Once at a full rolling boil set timer for 1 minute
- When timer goes off remove from heat and skim off foam with a spoon
- Remove hot jars from oven or dishwasher
- Pour jam mixture into jars with a funnel, being cautious not to overfill (I usually try to leave at least a ¼th inch at the top)
- Clean off the tops of the jars to ensure a good seal and place clean, new lid along with lid ring on jar
- Put jars into water bath canner, water should be softly boiling, and your jars should be completely covered with water when lowered into pot
- Boil for 20 minutes
- Remove from canner and set on counter to let jars seal and cool
Notes
- This recipe makes 4 pints
- You can easily double the recipe, but it takes a large pot to cook it all together so we prefer to make multiple single batches
- Your jam may be liquidy when you pour it into the jars, it will set within 24 hours after canning it
- If you want less sugar buy no sugar needed pectin, however don't reduce the amount if you use regular pectin or the jam won't set correctly
- It is best eaten within a year, but the sugar acts as a preservative and it will be safe to eat even after that year is up if you forget about it. Once the jar is opened, keep in the refrigerator and use within a few months.
Nutrition


I can't wait to make this again this summer!