This week we were in a polar vortex and were desperate for a fun winter activity to fill our time. We decided to experiment with making frozen bubbles and, let me tell you, this little bubble adventure was a hit with all three of my kids! If you are itching for a fun activity to do with your kids on these cold days let me walk you through how to make frozen bubbles.

This activity is so simple and all of the ingredients for the homemade bubble solution were in my house already. My toddler loved watching the bubbles freeze and ice crystals appear "like magic". I have to admit it is pretty mesmerizing to watch the water molecules freeze in front of your eyes.
My older two boys had fun making the bubble mixture and experimenting with getting the bubbles to freeze outside. We definitely found things that did and did not work which I will share with you below.
It was fun to talk about the science that goes into this activity. You could take it one step further by also talking about the science behind bubbles. (hooray for adding a little science into play!)
If you are looking for more snow day activities be sure to check out our winter posts! Some of our favorite snow activities are these erupting snow volcanoes, making this snow ice cream recipe and learning how to make colorful ice sculptures!

I love that this fun activity was something we could do as a whole family. Be careful, it gets addicting and you may find yourself trying to blow the biggest bubble or looking for the most creative location to have it freeze on. I may have been the last in my crew to stay outside blowing bubbles because it was so much fun 🙂.
Materials
- Dawn dish soap
- Water
- Sugar
- Corn syrup
- Straws
- Small bowl or glass measuring cup

How To Create Perfect Frozen Bubbles
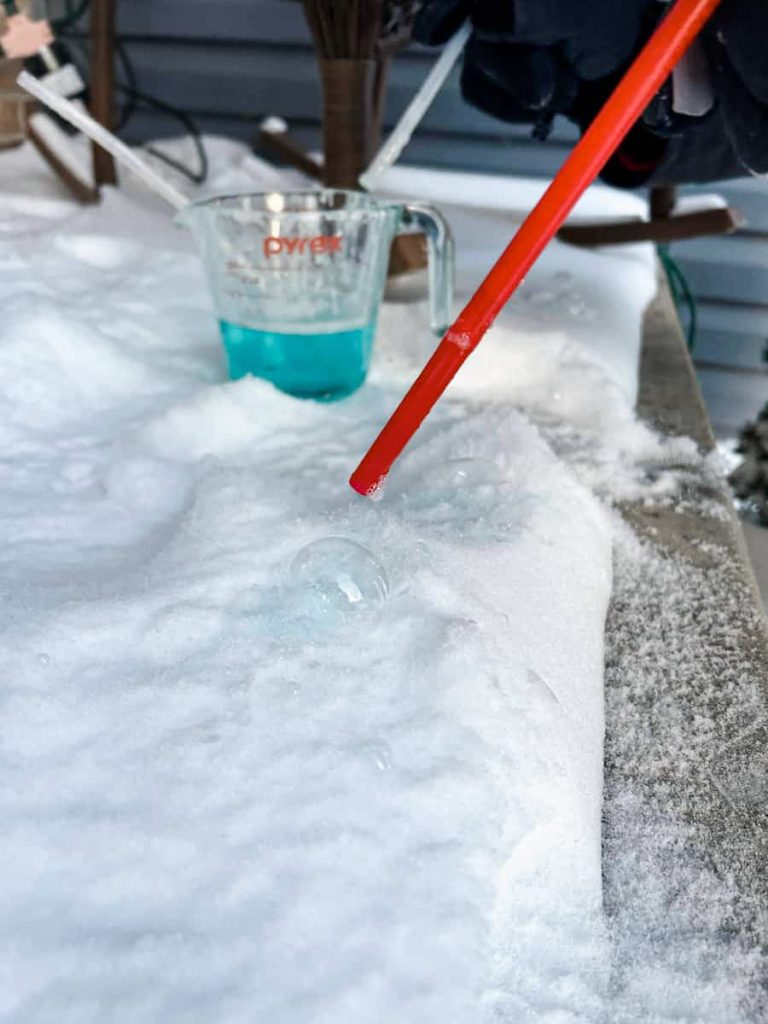
The key to being successful in making frozen bubbles is picking a perfect day. Ideally it should be as close to 0 degrees Fahrenheit as possible, but I've read that they can be created in weather up to 20 degrees Fahrenheit. We did this on a zero degree day with a wind chill of -18 and we were really successful! Honestly the colder the better, this may the only time I hope for single digits in our forecast.

You also want to be sure there isn't too much wind because even the slightest breeze will immediately pop your bubbles. If there is a slight wind I would find a sheltered spot. My kiddos used their hands to help keep the bubbles from popping which also worked!

The colder the day the more success you will have with bubble formation. This also means your kids should be bundled up in warm clothing because it gets cold outside and we want to make sure everyone is safe with this activity!
How To Make Your Special Frozen Bubble Solution
- Warm up one cup of water, this can be in a bowl or glass measuring cup
- Pour in 2 ½ tablespoons of corn syrup & mix- I used Karo Syrup- the warm water will help this mix easily
- Add 2 tablespoons sugar and mix
- Add 2 ½ tablespoons of dish soap and mix lightly- make sure to add this last so you don't have to deal with an abundance of bubbles
- Put your bubble solution in the freezer or outside for about 30 minutes, you want it really cold!
- Have fun creating frozen bubbles
If you have extra solution after making your bubbles outside just seal the container and store for another day!
Tricks To Making Your Bubbles Stick
I wanted to share what did and did not work for us so you can learn from our trial and errors. 🙂
Initially we tried to do the bubbles out in our yard but there was too much wind so moved to a sheltered spot, that worked MUCH better.
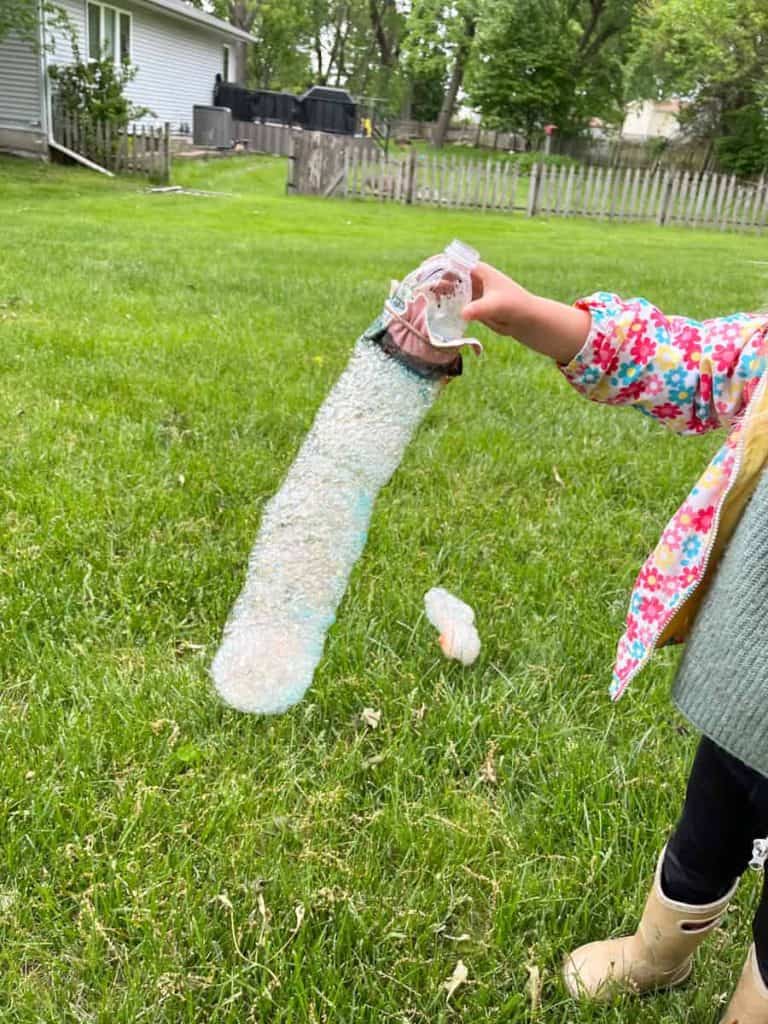
We tried this cool bubble bottle which was a great STEM experiment for my older kids, however I just couldn't get it to work. It was likely user error but we preferred just using straws. It was a great learning opportunity for the kids to understand how warm air from our bodies can affect the bubble. I recommend showing your kids this method even if you don't make it yourself.
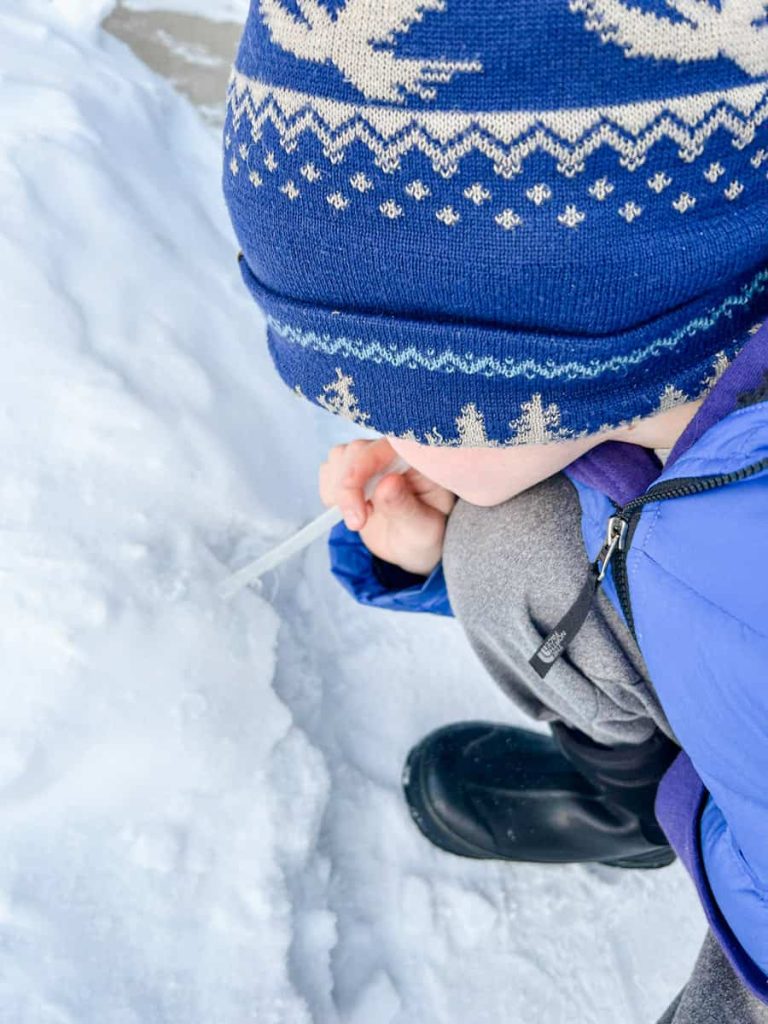
You have to blow into the straws very lightly, this took a lot of practice and patience and became frustrating for my 3 year old. If you are doing this with a toddler I would recommend the adult blow the bubble and let your kiddo just marvel in the magic of watching the bubble freeze.
Make sure your bubble juice is very cold (but not frozen!). We got antsy and started before the mixture was cold enough and the bubbles just wouldn't stay formed. Once the mixture got really cold the bubble formation was so much easier!
Tips On How To Blow Bubbles So They Don't Pop
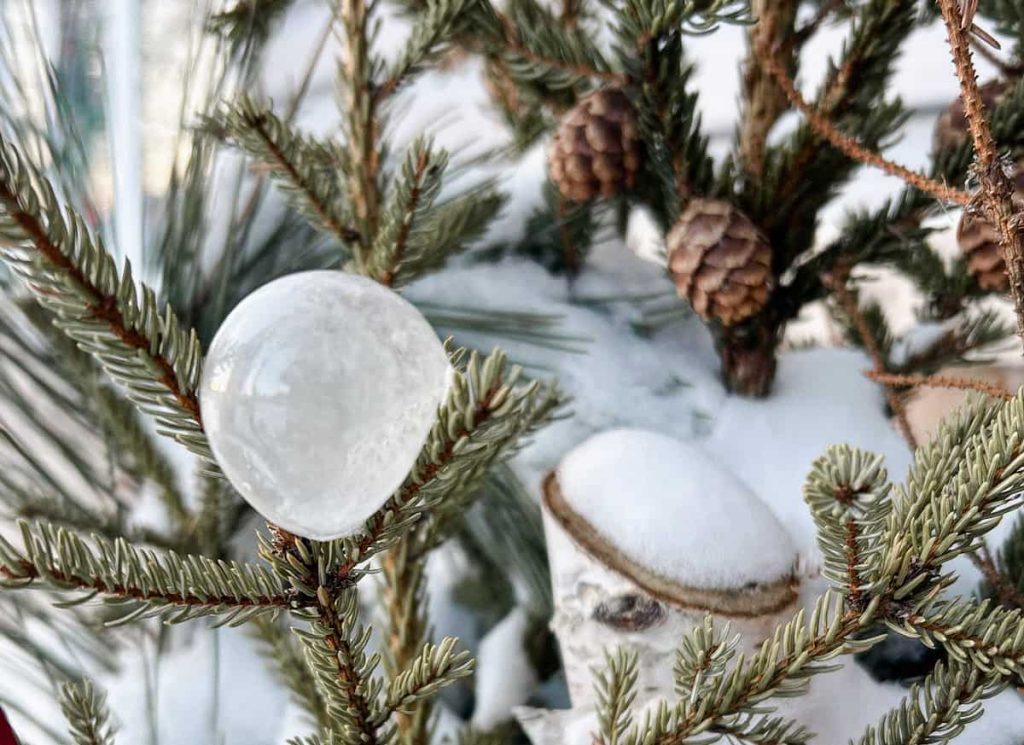
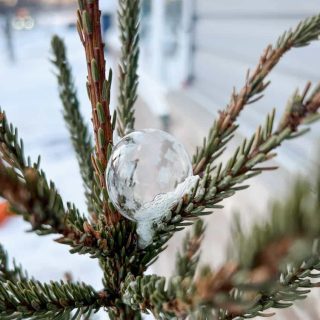
We used straws as our bubble blowers however I have seen others use a bubble wand. The straws worked great and everyone got to have their own to use. Dip your straw in about one inch of bubble solution and then blow your bubble onto a surface such as the surface of the snow, a tree branch or honestly anything else outside.
When you blow you must do it lightly and pull the straw out of the top of the bubble gently but also fairly quickly. If you let the straw stay on the top too long your bubble will start to freeze and then pop when the straw is removed. Basically when you see the bubble formation I would then take out the straw. This took some practice but once you got the hang of it wasn't hard to do.
If you blow the bubbles in the air they are super fun to watch float away, however we didn't have any success in having them land and then freeze.
We had the best results when we were in a sheltered area and our bubble solution had been outside for about 30 minutes. It was so fun when one of us would get a good bubble, there was cheering and we would all stand mesmerized watching the ice crystals form.

Other STEM Activities For Kids
- These Lego creation cards are so fun for winter days when you are stuck inside
- I highly recommend putting this recipe for giant bubbles on your summer bucket list this year
- This fun snowstorm in a jar experiment is a fun winter stem activity for kids!
Best of luck on your bubble adventures- I would love to hear from you if your family makes these fun frozen bubbles!
Frozen Bubble Solution
Supplies Needed
- 1 cup warm water
- 2 ½ tablespoon corn syrup
- 2 tablespoon sugar
- 2 ½ tablespoon Dawn dish soap
Instructions
- Warm up one cup of water, this can be in a bowl or glass measuring cup
- Pour in 2 ½ tablespoons of corn syrup & mix
- Add 2 tablespoons sugar and mix
- Add 2 ½ tablespoons of dish soap and mix lightly- make sure to add this last so you don't have to deal with an abundance of bubbles
- Put your bubble solution in the freezer or outside for about 30 minutes or until it is really cold
- Have fun creating frozen bubbles
Notes
- I used Karo Syrup and Dawn dish soap for my solution, results may vary if you use other brands
- Your water needs to be warm so the corn syrup dissolves easily
- To get the best bubbles make sure your solution is really cold before blowing bubbles


What do you use to blow the bubbles?
Hi Mary- We used a straw to blow them which worked well!
Hi! What can you use instead of corn syrup?
Hi Hille- You could try glycerine- I haven't tried it in this recipe but I would think it would have similar binding actions. If you try it I would love to hear how it works!
Oh this makes me wish we still lived Nebraska! Here at home in South Carolina, we never get weather cold enough for this activity, but it looks super fun!
Sometimes I wonder why we live where it is cold & snowy 6 months out of the year, but the snow play definitely makes it feel better (and secretly I think I would miss it too if we moved 🙂 )
This didn't work for me. Help.
Hi Phyllis- I'm so sorry this didn't work for you! Some trouble shooting ideas, make sure the bubble solution is cold, we either stick it outside or in the freezer for about 20 minutes before using it. Also, we find that it needs to be really cold outside, so the closer to 0 degrees the better, if it isn't cold enough or too windy they won't stick. I hope that is helpful!
Do you think this stores well? I would love to make some to share with friends.
Yes, we actually recently pulled out the batch we made last winter to use again this winter and they work perfectly!