Maple syrup snow candy, also known as maple taffy or sugar on snow, is a fun winter activity to do with your kids and a great opportunity to learn about the process of making real maple syrup!

Maple syrup snow candy has been on my daughters winter bucket list ever since reading the Little House on the Prairie children's book Sugar Snow (which is adapted from The Little House in the Big Woods). Pa pours hot maple syrup over a pan of fresh snow and ta-da they had maple snow candy to go with their maple sugar cakes!
We've read this little book so many times in anticipation of maple syrup season and the chance to make our own maple candy!
We only had one big snowfall early this year so we used the maple syrup we boiled down last year to make our snow candy. We love the whole process of making maple syrup - from tapping the maple trees to gathering with friends and neighbors to boil it down. This winter activity got us so excited for maple syrup season!

Ingredients and Supplies:
- Fresh snow
- Pure maple syrup (artificial will not work for this recipe)
- Candy thermometer
- Popsicle sticks
How to Make Maple Taffy
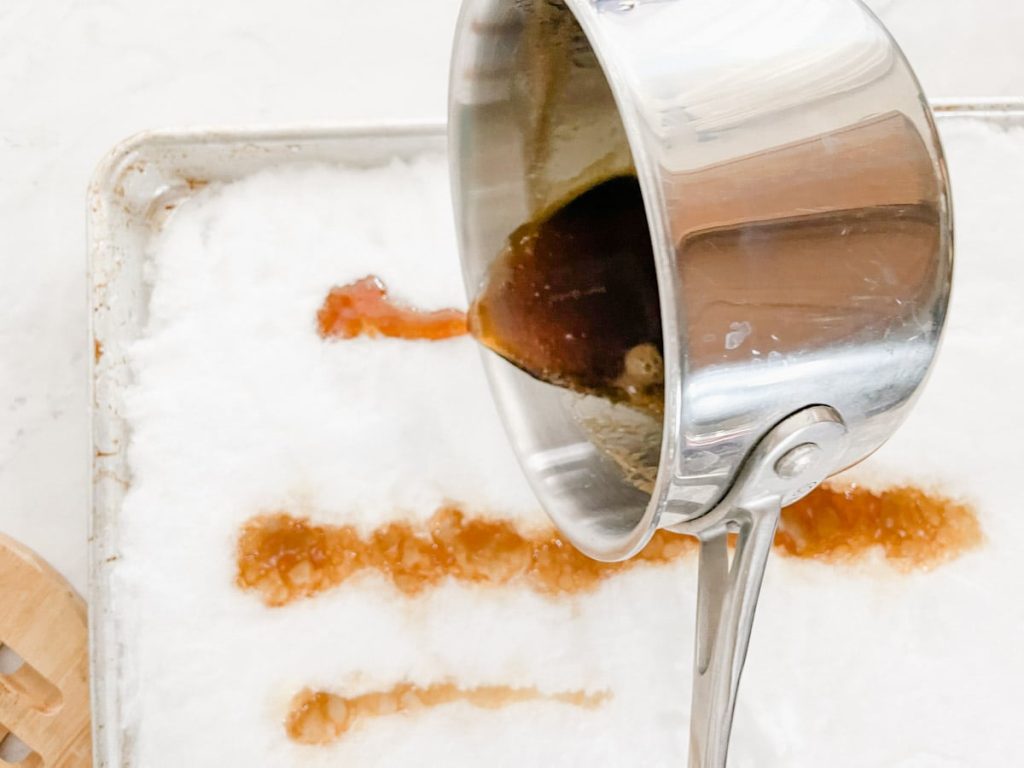
First, gather your fresh, clean snow and pack it on a large baking sheet.

Take your maple syrup and put it over medium-high heat in a small saucepan until it reaches the soft-ball stage and a candy thermometer reads 235-245 degrees F. Stir frequently as it heats up so it doesn't burn to the bottom of the pan.
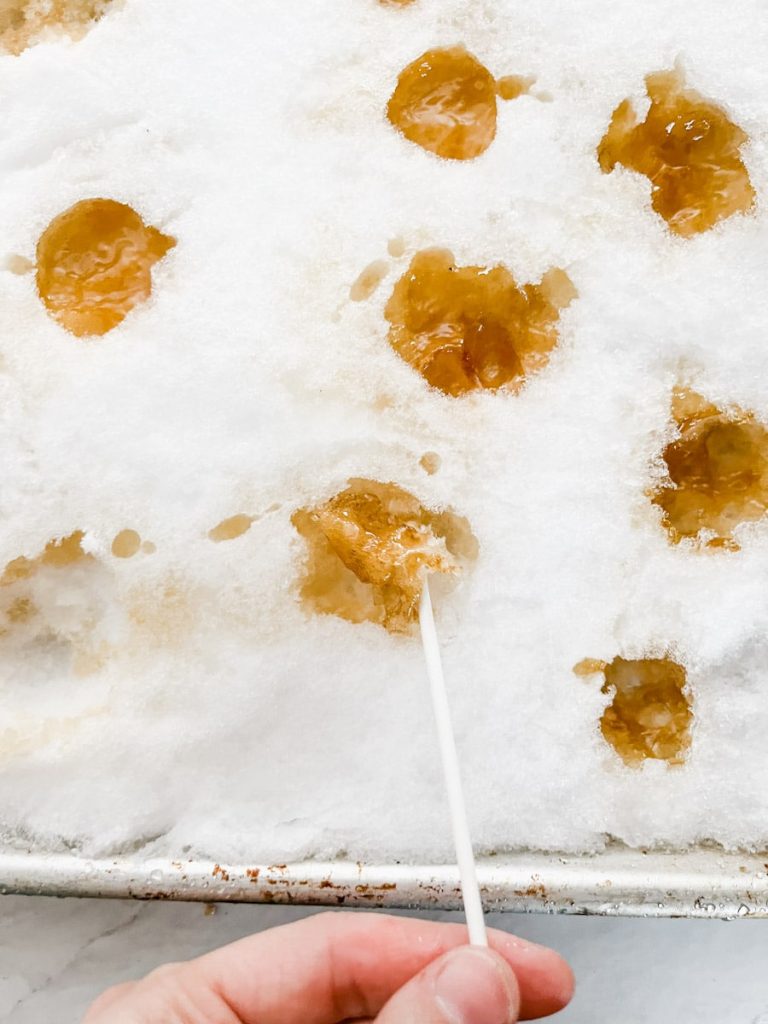
Once it reaches this temperature, pour your hot syrup over the packed snow. You can pour in thin lines or make little dollops for small candies.
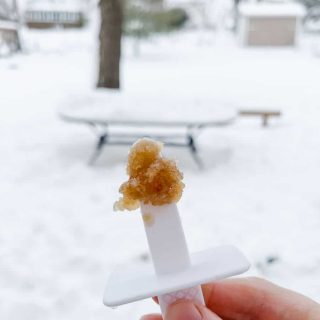
Use a popsicle stick and roll over the lines of syrup to make a little maple lollipop.
Enjoy your maple syrup taffy!
Tips for Making Maple Snow Candy
The snow will cool the maple syrup pretty quickly, so just wait a few seconds for it to slightly cool before wrapping it around your popsicle stick. As it cools it will harden further and you can just pick up the candy to eat it.
If your maple syrup is not hot enough, it will simply seep into the snow and not turn into a candy.
On the other hand, make sure you don't heat your maple syrup up too much or it will turn into maple sugar 🙂
Why we love this activity
There is something so awesome about the simplicity of making your own candy with only snow and maple syrup. The fact that Laura Ingalls Wilder did it 150 years ago and we continue to enjoy the tradition of making our own maple syrup and snow candy today is really neat!
This recipe is a great opportunity to teach your kids where maple syrup comes from and learn about how it is made.
I hope you enjoy this fun maple syrup candy recipe and if you decide to make it please share your experience with us - we love hearing your stories!
Recipe
Maple Syrup Snow Candy
Ingredients
- Fresh Snow
- ½ Cup Pure Maple Syrup
Instructions
- Gather your clean snow and pack it onto a large baking sheet.
- Take your maple syrup and put it over medium-high heat in a small saucepan until it reaches the soft-ball stage and a candy thermometer reads 235-245 degrees F. Stir frequently as it heats up so it doesn't burn to the bottom of the pan.
- Once it reaches this temperature, pour your hot syrup over the packed snow. You can pour in thin lines or make little dollops for small candies.
- Use a popsicle stick and roll over the lines of syrup to make a little maple taffy lollipop.
Notes
- You will need to use pure maple syrup for this recipe.
- Stir the syrup frequently as it heats up so it doesn't burn to the bottom of the pan.
Other fun winter activities:


Comments
No Comments