
This tissue paper leaf craft is a simple way for kids to make colorful fall artwork using bleeding tissue paper and our free leaf templates.
Our free leaf templates have both maple leaves and oak leaves, so kids can create their own collection of autumn leaves that have a fun watercolor effect. This is an easy fall craft for elementary aged kids and preschoolers with some help!
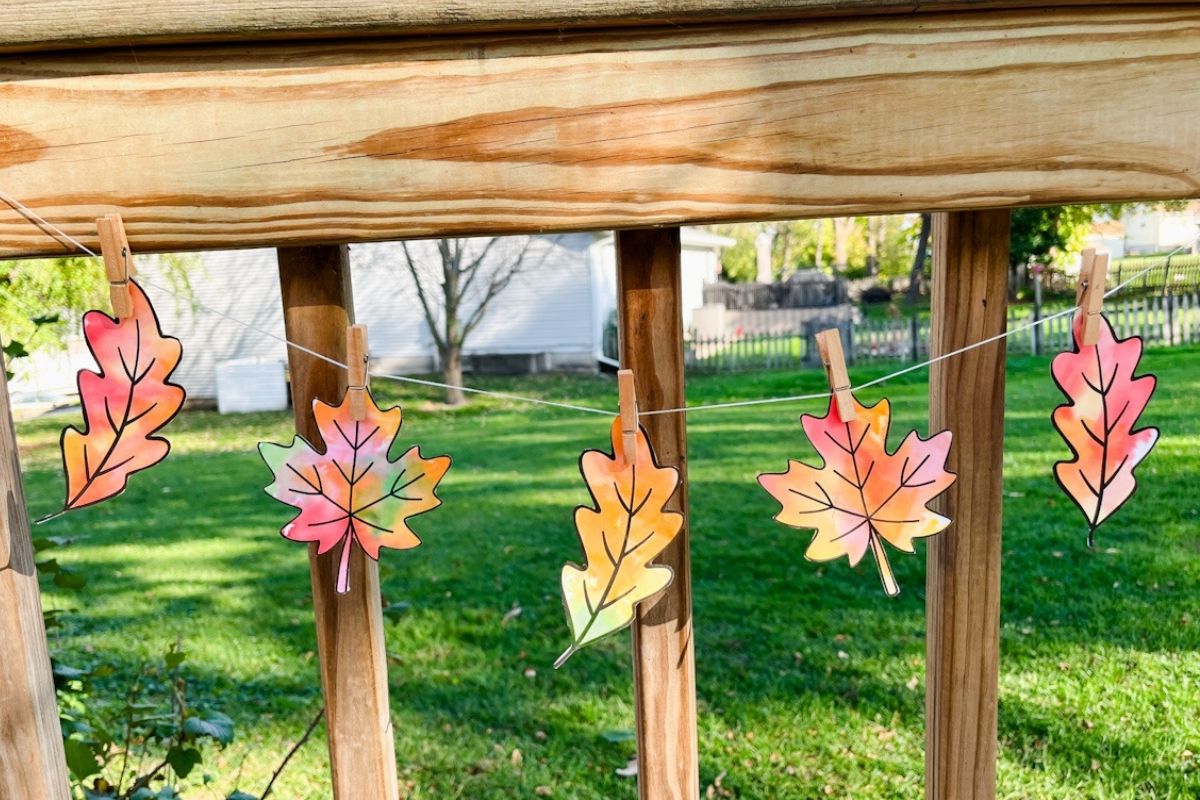
Quick Look: Tissue Paper Leaf Craft
- 🧪 Activity Time: 15-30 minutes
- ⏳ Total Time: 30 minutes
- 🎨 Supplies Needed: Bleeding tissue paper, leaf template, scissors, paint brush, cardstock
- 👀 What Kids Will See: Tissue paper colors transferring and blending on paper
- 🎯 Ages: Toddlers & preschoolers through elementary aged kids
- 👌 Difficulty: Easy
- 💡 Why This Works: Kids love to watch as the water transfers the dye from the tissue paper to the cardstock, creating colorful patterns that look similar to watercolor painting.
SUMMARIZE & SAVE THIS CONTENT ON
This post contains affiliate links, which means I will make a small commission at no extra cost to you. Please see my full disclosure here.
Fall is such a fun time for creative projects and inspiration seems to be found everywhere! These fun tissue paper leaves are so simple to make and a low prep fall activity for kids.
This fun leaf craft is an easy way to practice fine motor skills and let your kids help you with some diy fall decorations!
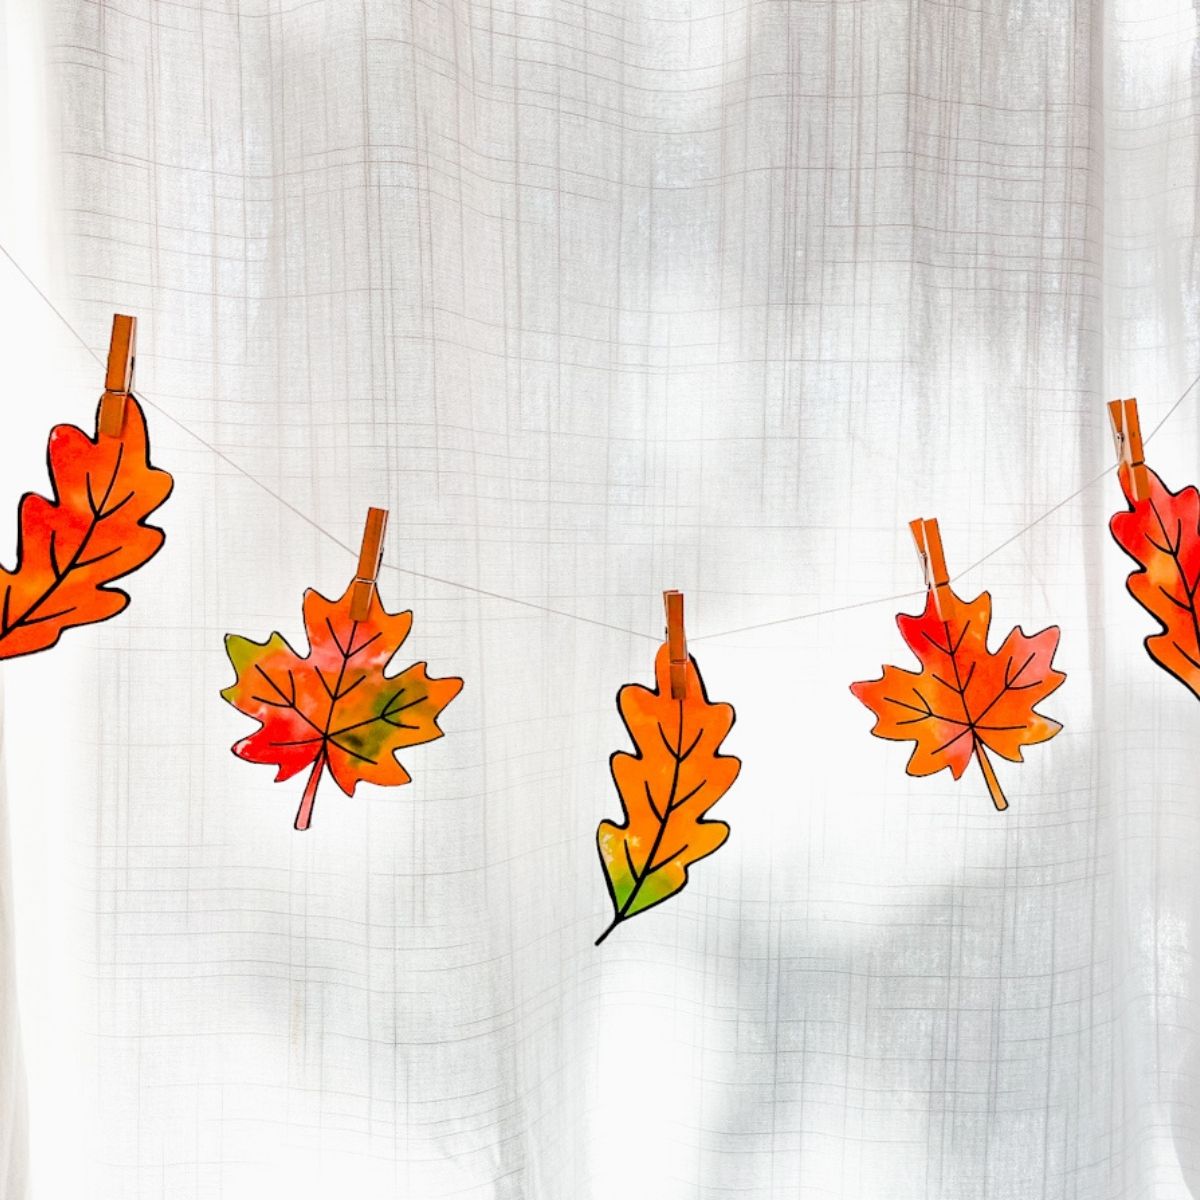
We use the same bleeding tissue paper technique with our tissue paper apples and we use tissue paper often with our suncatchers including these fall leaf suncatchers!
Add in some fun fall treats like these sheet pan caramel apples or homemade applesauce and you have a full day of fun fall activities!
Jump to:
Materials
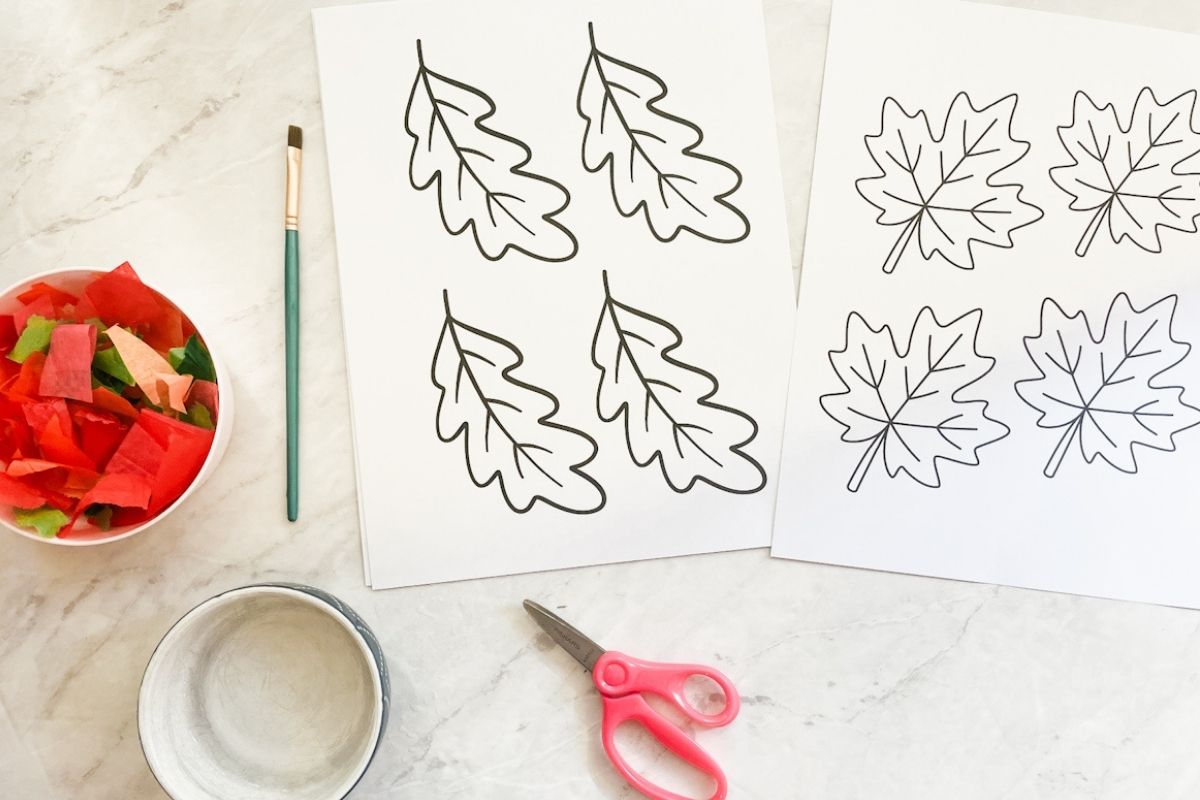
- Bleeding tissue paper - Be sure to use tissue paper labeled as bleeding tissue paper. Regular tissue paper usually won't release color in the same way.
- Cardstock - A thicker paper works best because you'll be adding water. Thin printer paper may wrinkle or tear.
- Free Leaf Template - The link for the free maple leaf and oak leaf template is below.
- Paint Brush
- Water
- Scissors
Tissue Paper Apple Craft Instructions
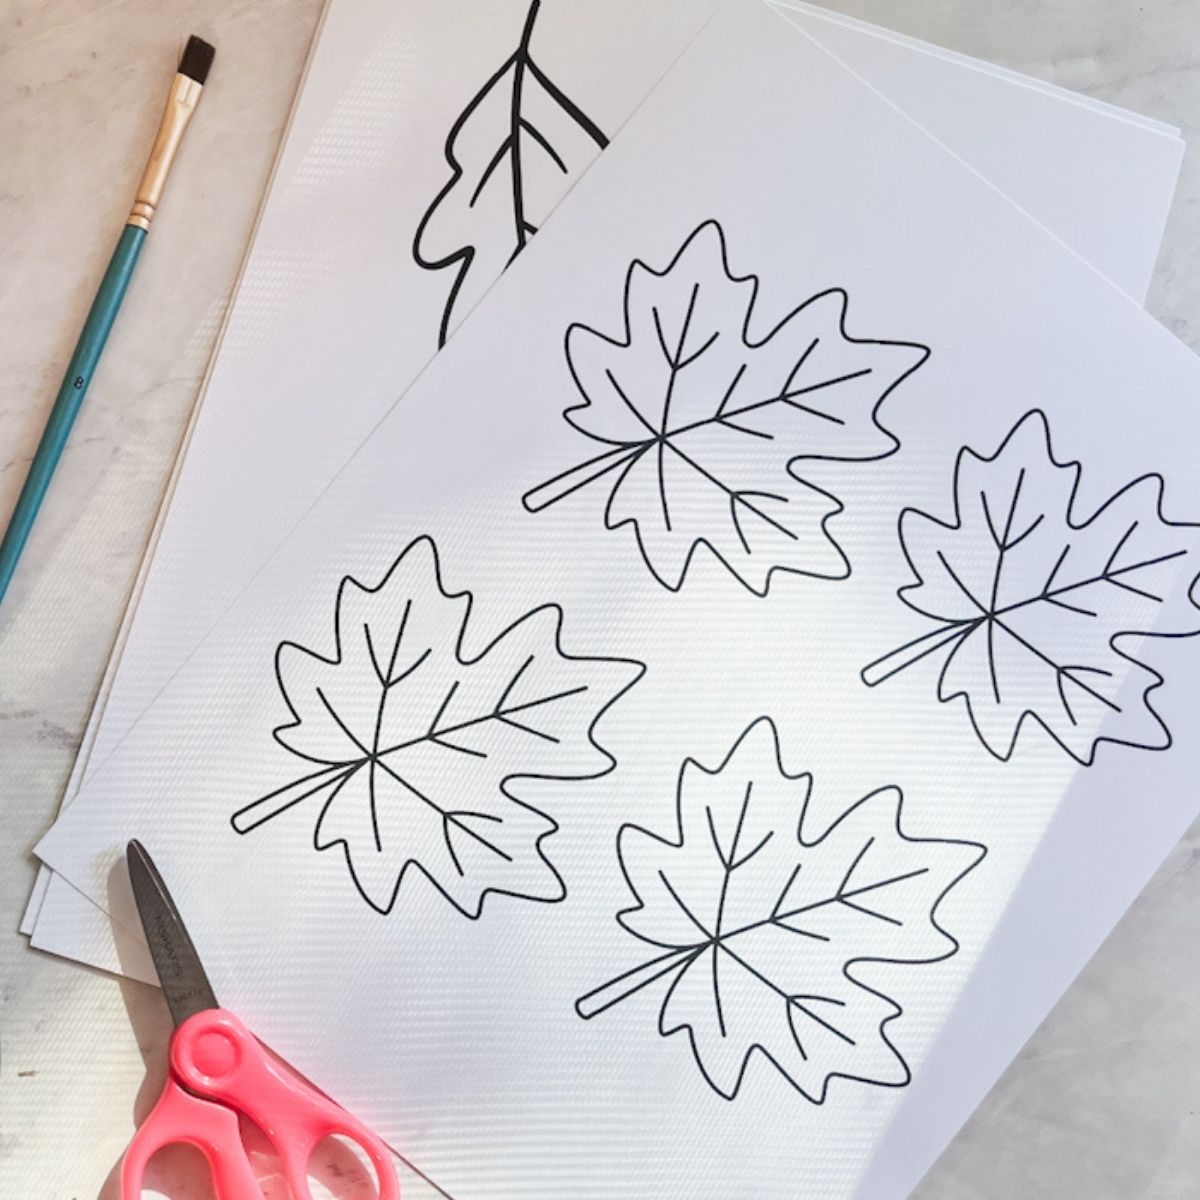
Step 1: Print the maple leaf and oak leaf templates on white cardstock.
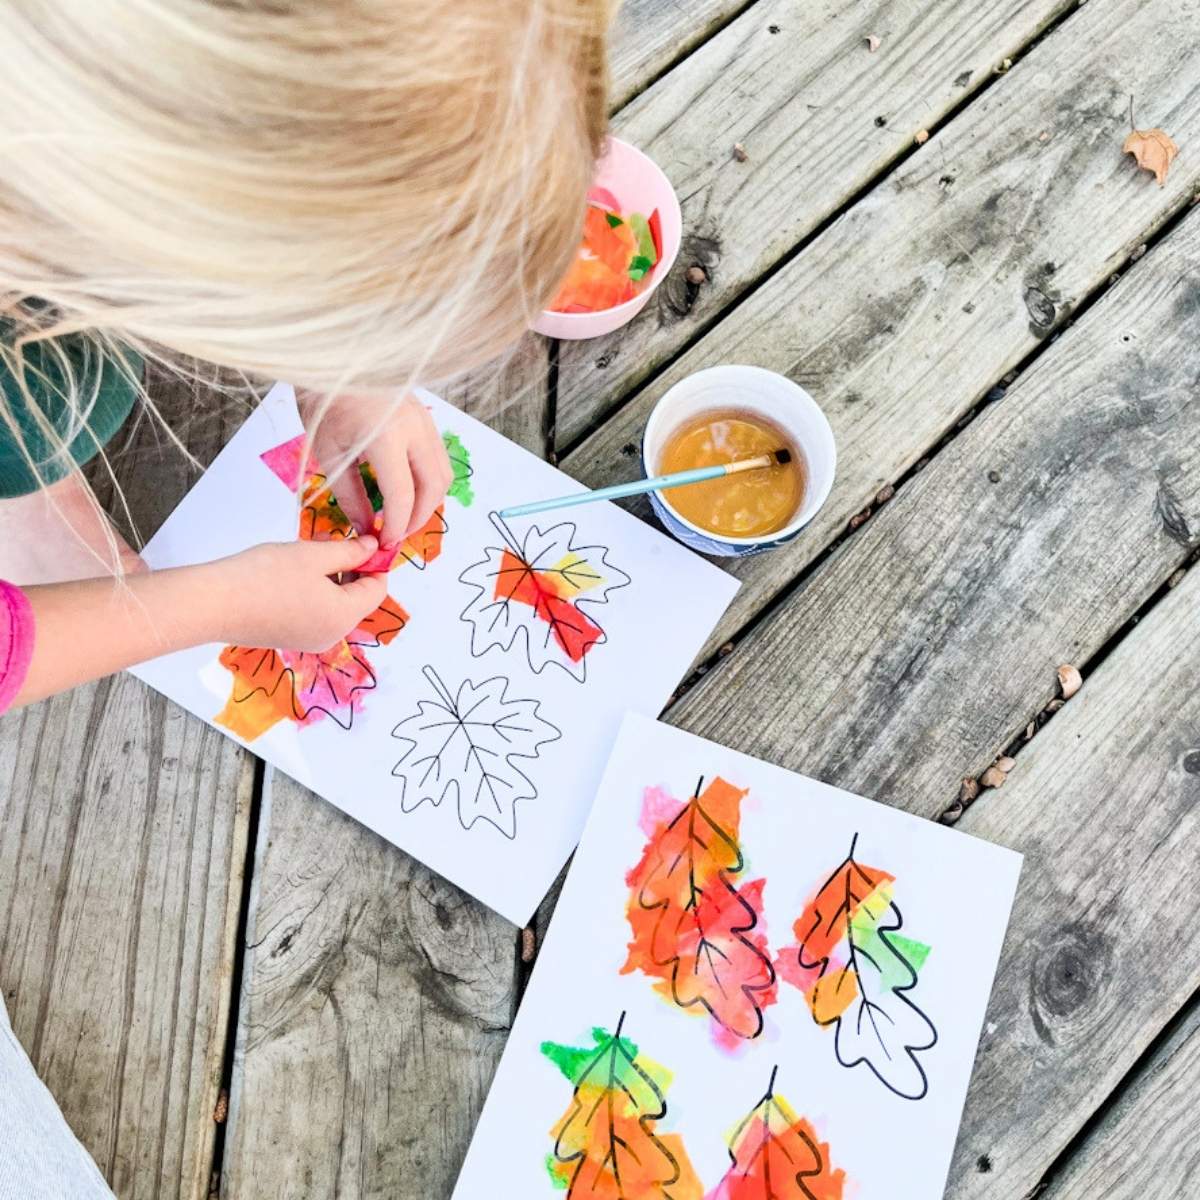
Step 2: Use a paintbrush to lightly dampen the leaf shape with water. Tear or cut the bleeding tissue paper into small pieces, then place them over the leaf template.
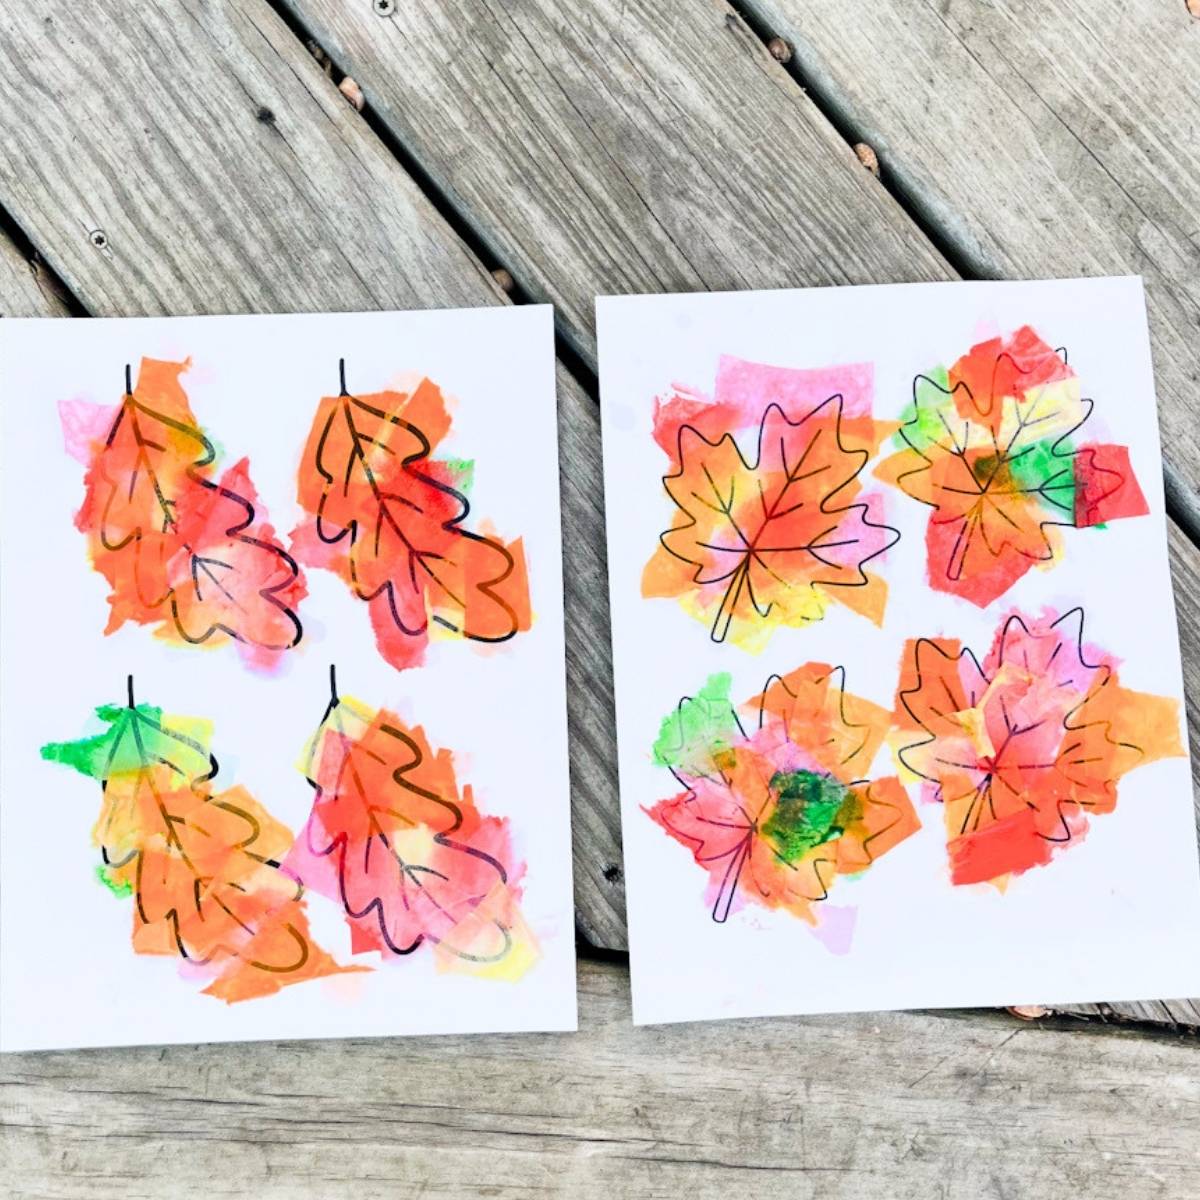
Step 3: Once the leaf is covered, brush a little more water over the tissue paper so each piece is damp and in contact with the cardstock.
Leave the tissue paper in place for about 10-15 minutes to allow the color to transfer.
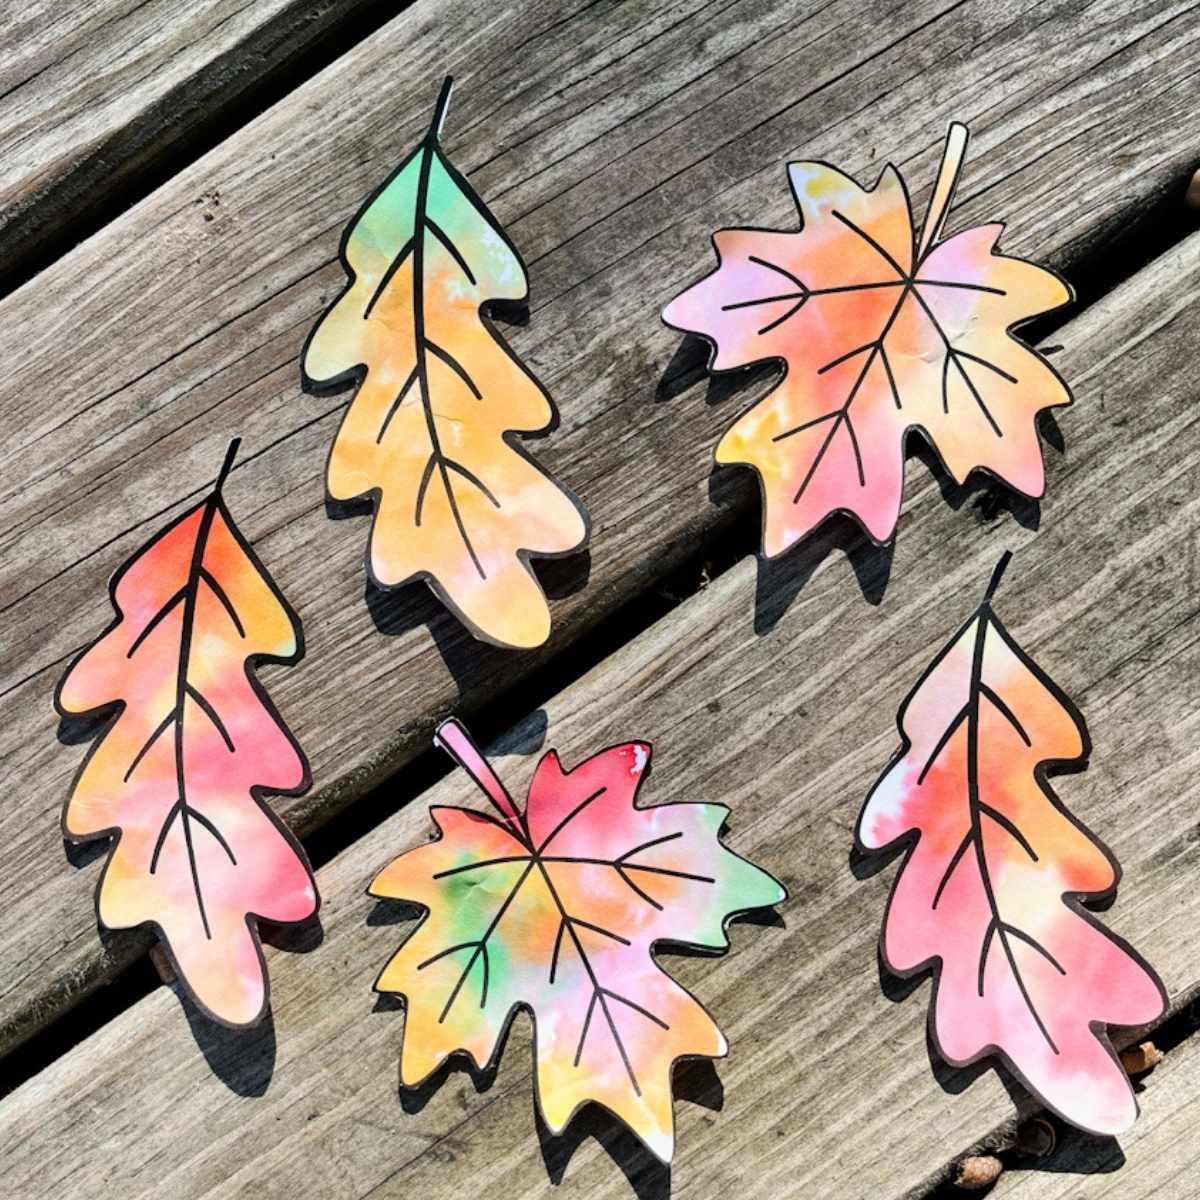
Step 4: Carefully peel away the tissue paper pieces to reveal the colors underneath.
Cut your leaves out once your paper is fully dry and hang up!
Your Free Printable Leaf Template
You just need to complete the information in the box above and the leaf templates for this craft will be sent to your inbox immediately. There will be a link within the email with the PDF and you can print as you would like. This printable template is for classroom and personal use.
I hope you enjoyed this fun and easy tissue paper leaf craft for fall!
More Fall Activities Kids Will Love
If your kids enjoyed making these tissue paper leaves, be sure to check out some of our other favorite fall activities:
If you made this tissue paper leaf craft or any other activity on our blog please let us know how it went in the 📝 comments below. Thanks for visiting!

Comments
No Comments