
There is something about this homemade applesauce recipe that just feels like fall. We make this every year when we have more apples than we know what to do with, and it has become one of those simple recipes our family looks forward to.
This homemade applesauce uses just a few simple ingredients and can be made either on the stovetop or in the Instant Pot. I'll show you both methods so you can use whichever works best for you!
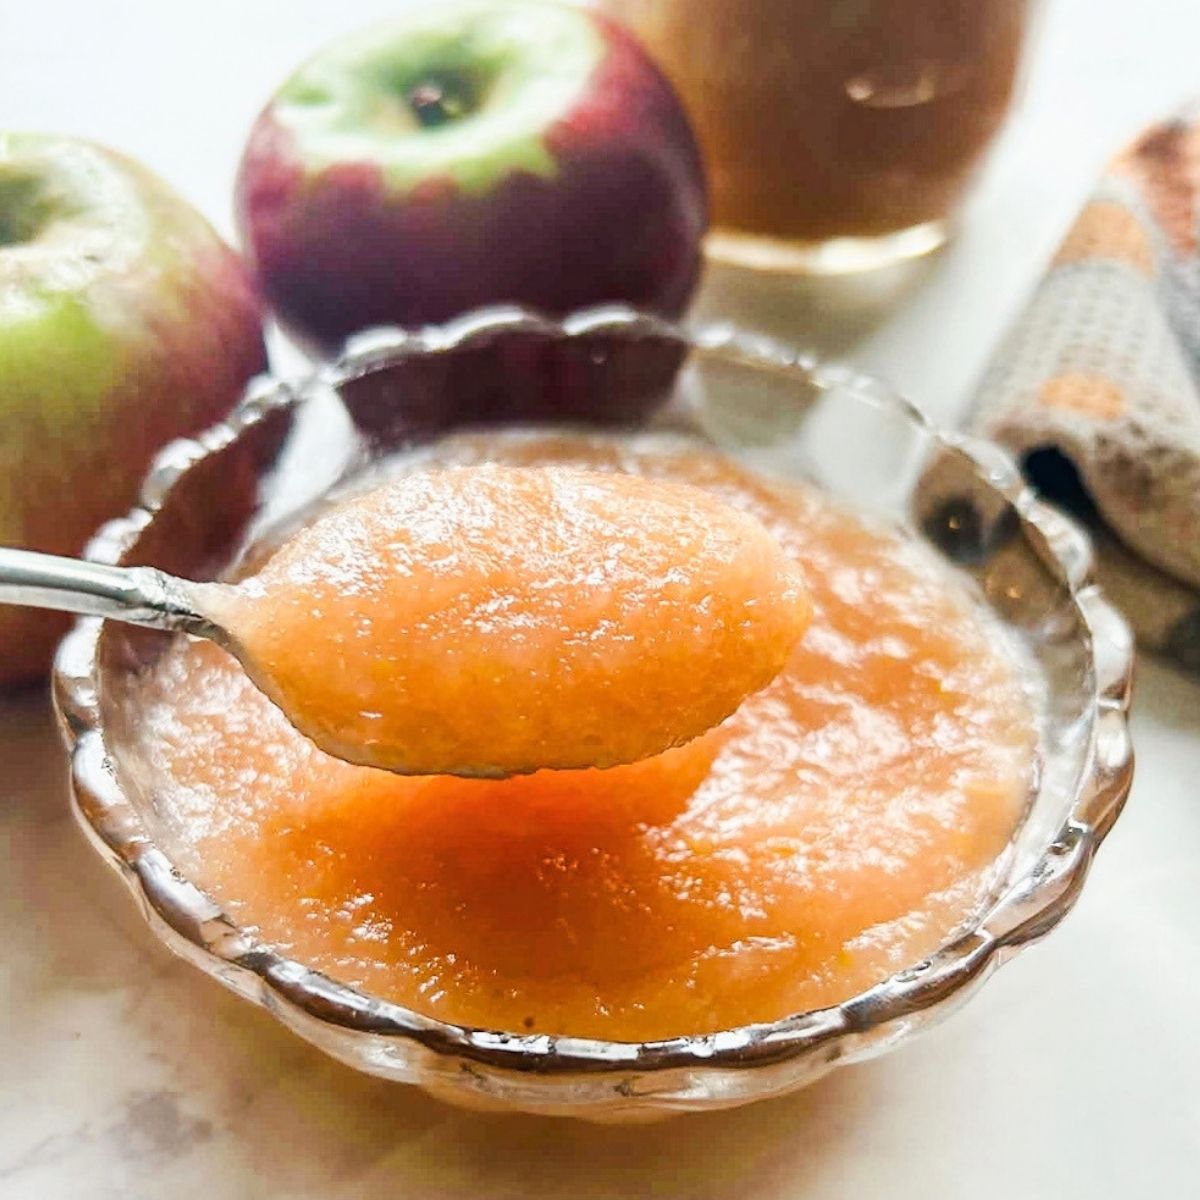
Quick Look: Homemade Applesauce Recipe
- 🍳 Cooking Methods: Stovetop or Instant Pot
- ⏳ Total Time: 60 minutes
- 🍎 Ingredients: Apples, sugar + water
- 👧 Kid-Friendly: A simple homemade snack kids love
- ❄️ Storage: Can, refrigerate or freeze for later
- 🍂 Perfect For: Fall, apple picking, snacks, breakfast & baking
- 👌 Difficulty: Easy, perfect for a fun fall baking day
SUMMARIZE & SAVE THIS CONTENT ON
This post contains affiliate links, which means I will make a small commission at no extra cost to you. Please see my full disclosure here.
We have made this applesauce every fall for over 20 years, it is a family staple and I'm so excited to share it with you! Whether you are hoping to have fresh applesauce for dinner tonight, or make enough to get you through the entire year (this is what we usually do), this recipe is foolproof and so easy to put together!
If you find a few bruised apples in your batch you can set them aside and make these fun apple volcanos or do some apple stamping! If you want to make a full apple themed day you could even make this simple tissue paper apple craft.
Jump to:
- Quick Look: Homemade Applesauce Recipe
- Key Ingredients
- How to Make Homemade Applesauce on the Stovetop
- How to Make Homemade Applesauce in the Instant Pot
- How to Can Homemade Applesauce
- Ways to Use Homemade Applesauce
- Storage
- A Family Tradition
- Homemade Applesauce Recipe FAQs
- Other Fall Apple Based Recipes You Will Love
- Recipe
- Comments
Key Ingredients
This recipe uses 3 simple ingredients and I love knowing exactly what is in the applesauce when I feed it to my kids.
- Apples: We have tried so many apples over the years. Our preference is Cortland apples because we find we need less sugar added to the applesauce, Paula Reds are also a great choice.
- Sugar: This is completely up to you and your family's personal preference, if you like your applesauce a little tart then use less sugar, if you like it sweet, add more!
- Water: The water helps the apples cook without sticking to the pot, you will need less water when using the Instant Pot compared to cooking the apples on stovetop.
How to Make Homemade Applesauce on the Stovetop
The photos below are from a recent applesauce making weekend with my mother-in-law, who is our family's applesauce expert! She has continued this yearly tradition with my kids, and this year we made 48 jars of applesauce together. So while these photos aren't perfectly staged or polished, they show what making a big batch of applesauce really looks like in our kitchen. Come along with us and enjoy the process photos, messy kitchen and all!
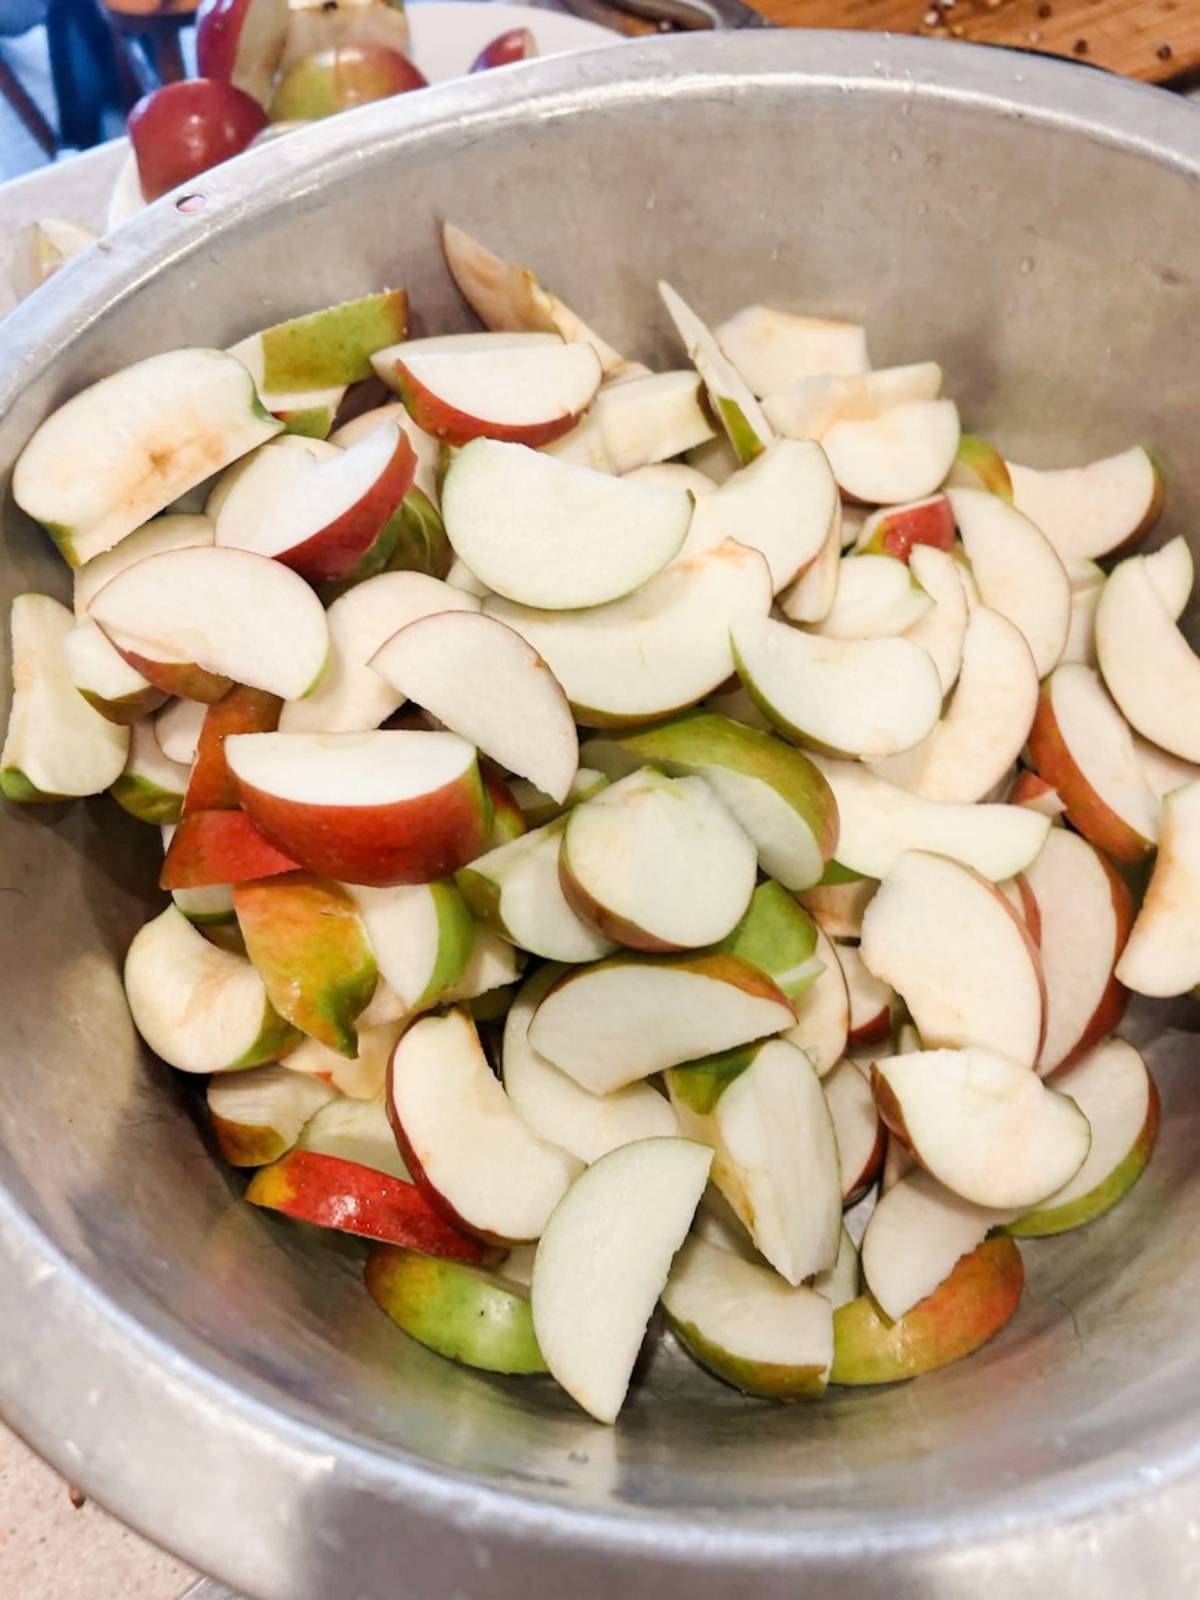
Step 1: Wash your apples and cut them into approximately ½- to 1-inch slices, removing the cores and seeds. You don't need to peel them because the strainer will separate the peels from the apples later.
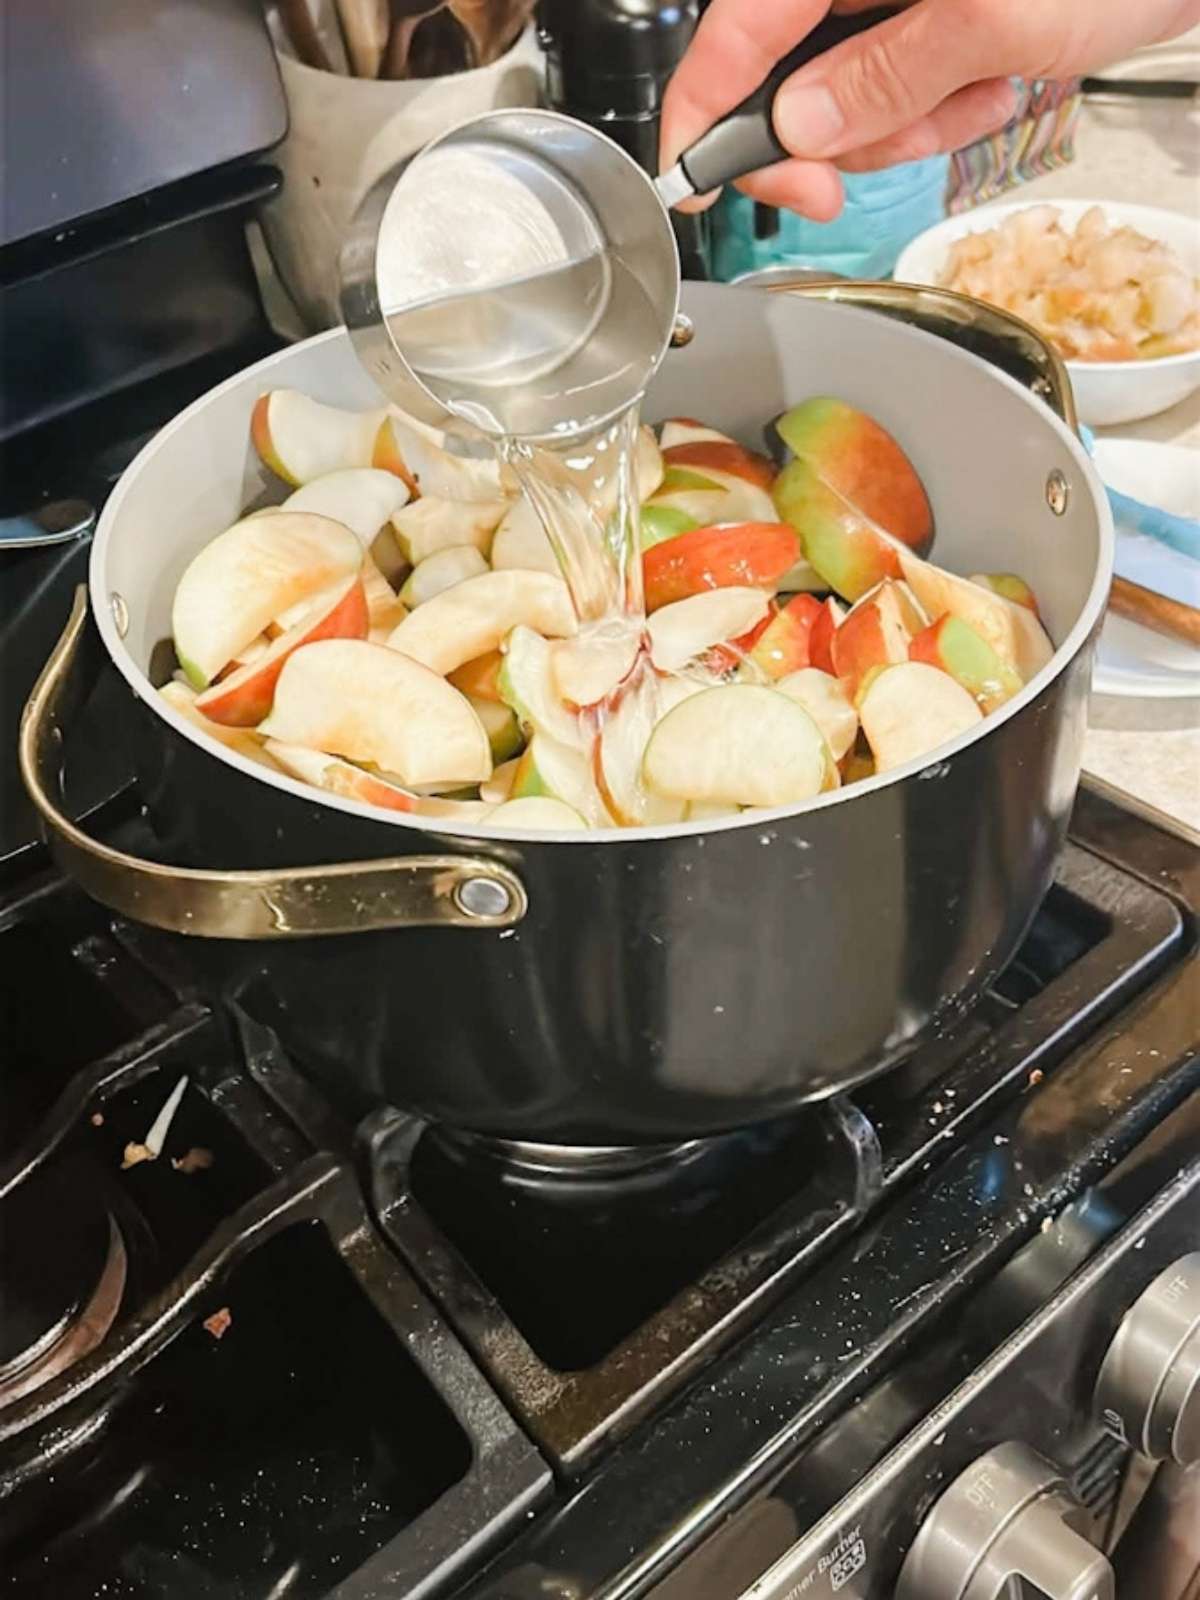
Step 2: Add 16 cups of prepared apples to a large stock pot and add 3½ cups of water.
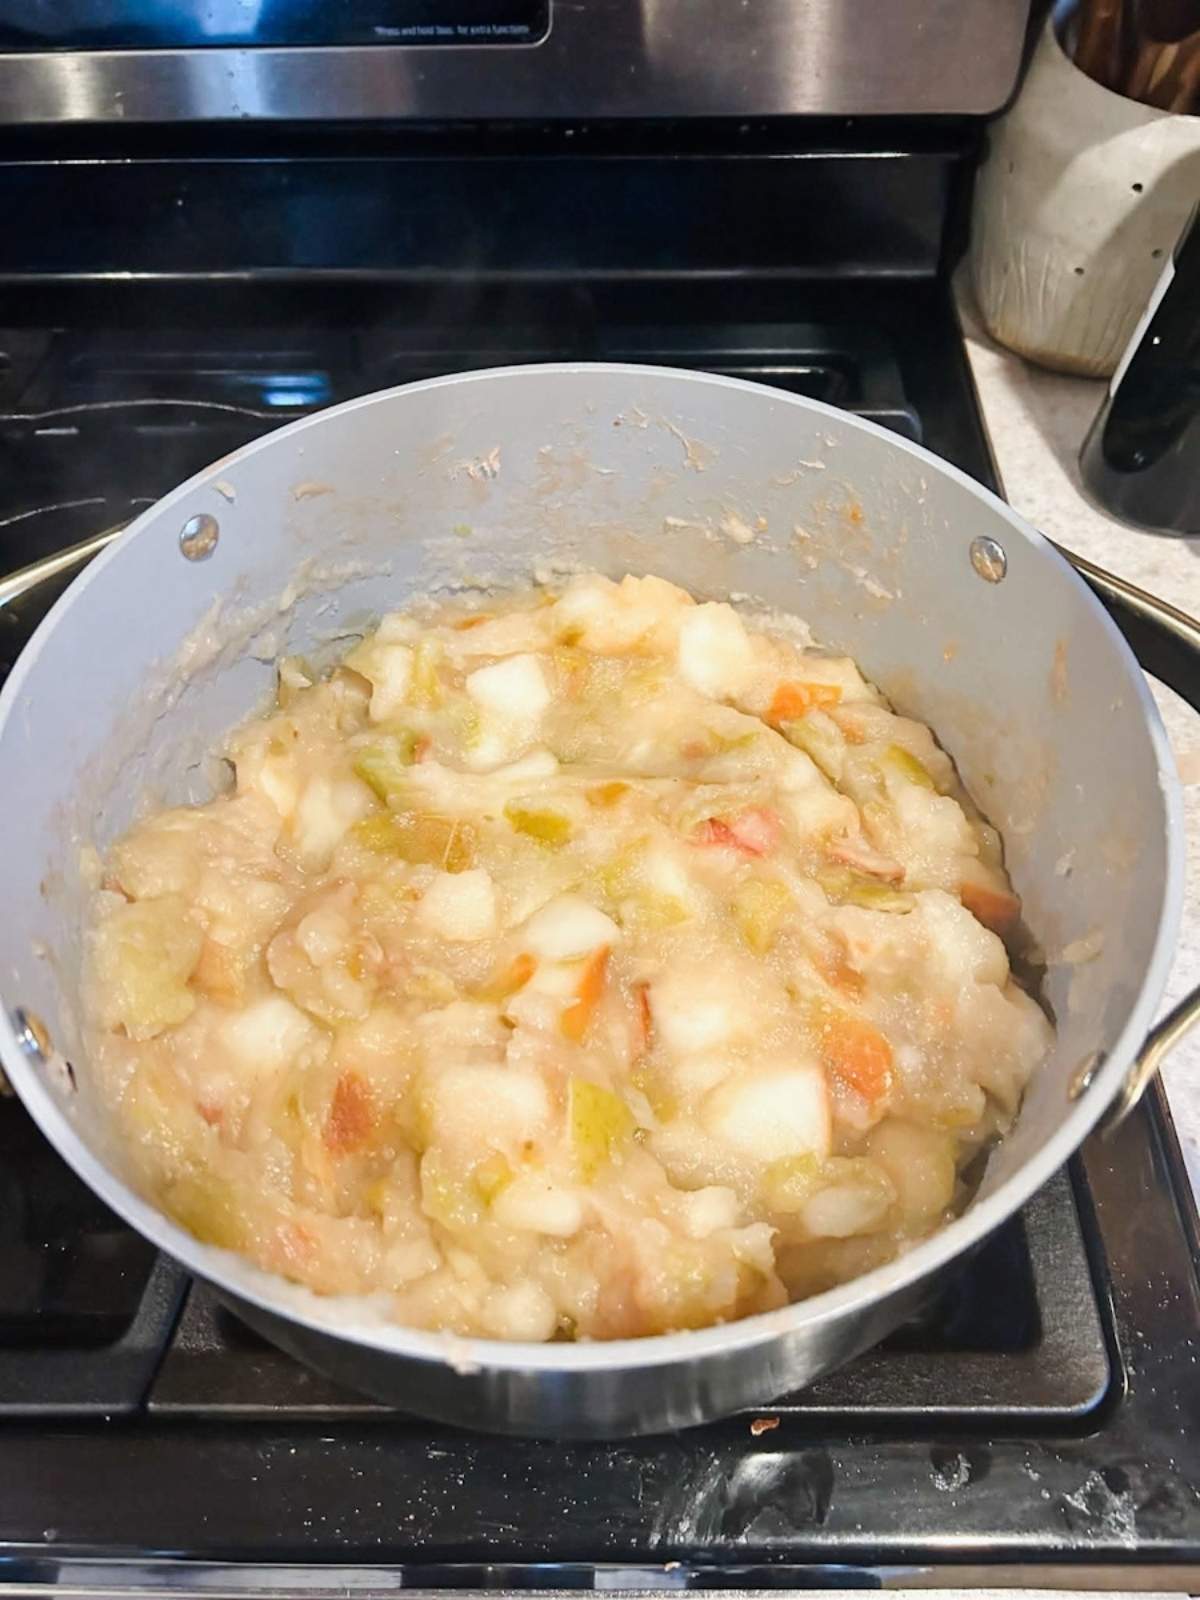
Step 3: Cover the pot and cook over medium heat, allowing the apples to simmer until they are very soft and mushy. It's okay if the apples look a little juicy as they cook. If they start looking dry, add ¼ cup of water and continue cooking.
Stir the apples occasionally as they cook, stirring more frequently as they get close to being done. This helps prevent the apples from sticking and scorching on the bottom of the pot.
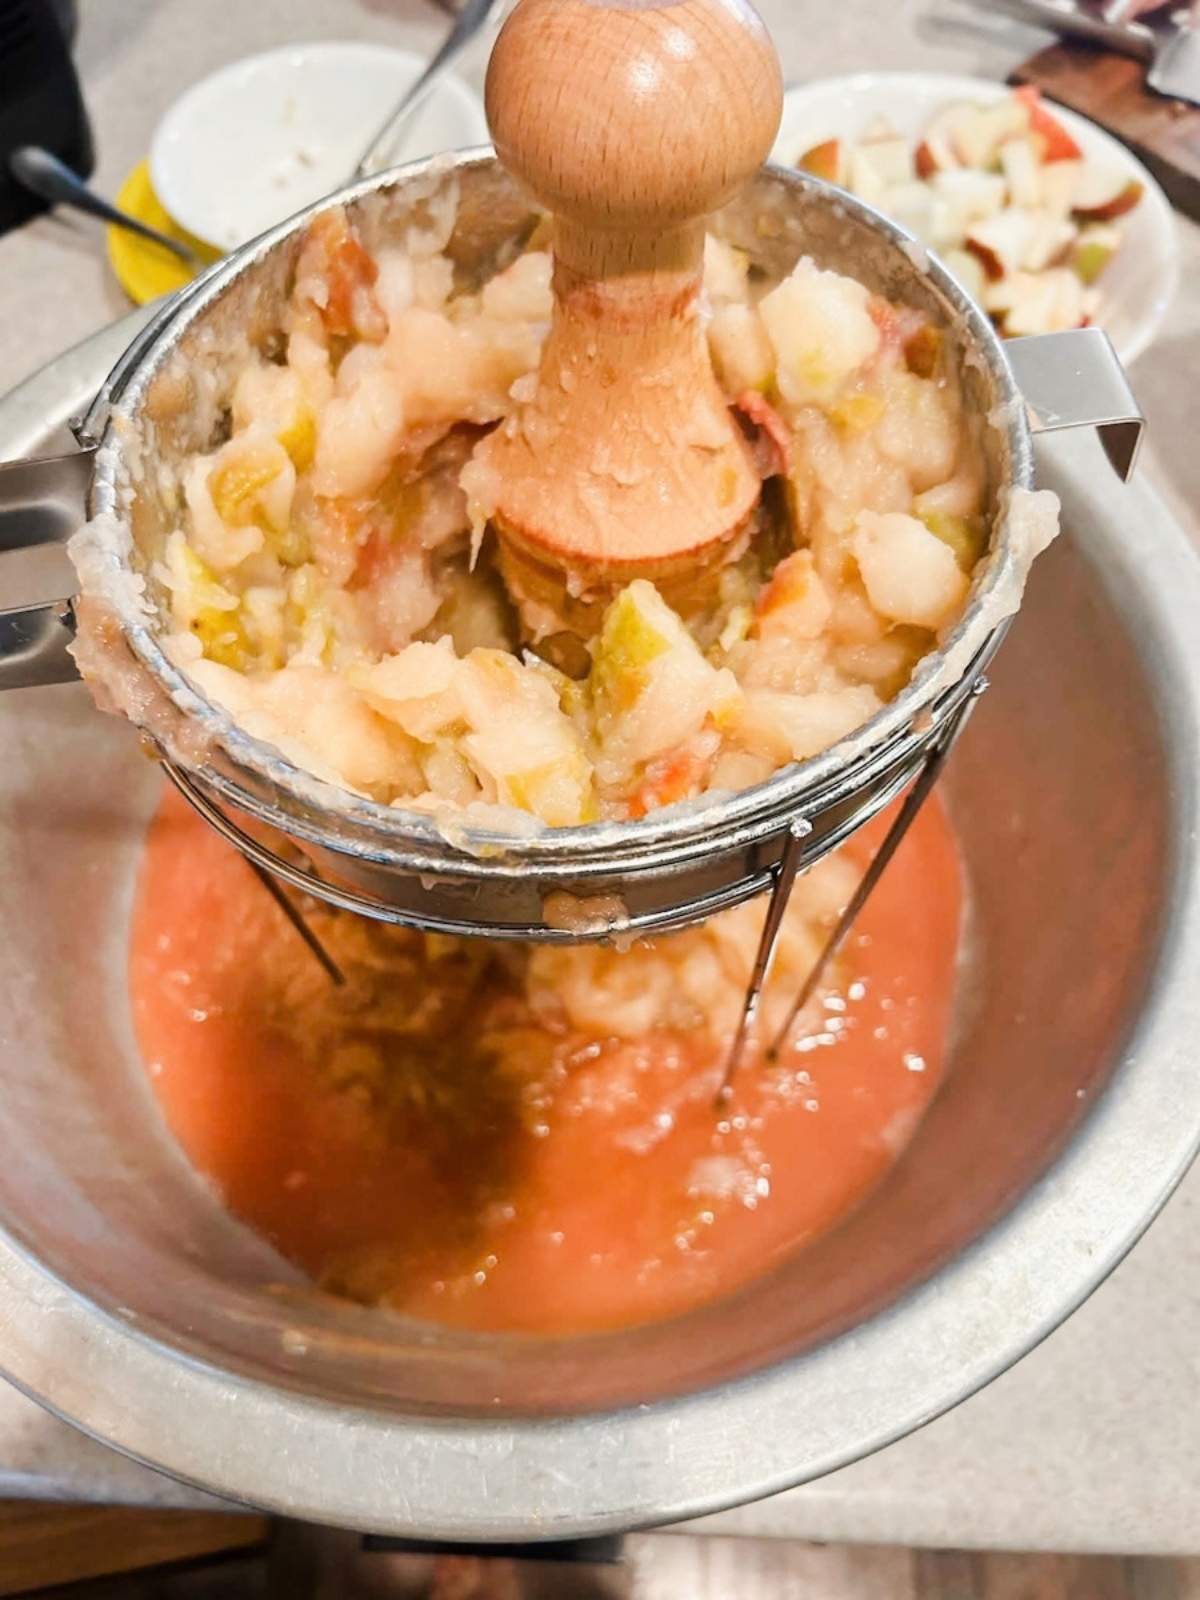
Step 4: Transfer the cooked apples to a chinois and use a wooden pestle to press the apples through the strainer. Work the pestle around the chinois, pressing the apples against the sides and bottom until the applesauce has passed through and only the peels and other solids remain.
If you're doing multiple batches: Scrape the leftover peels and apple pieces out of the chinois before starting the next batch.
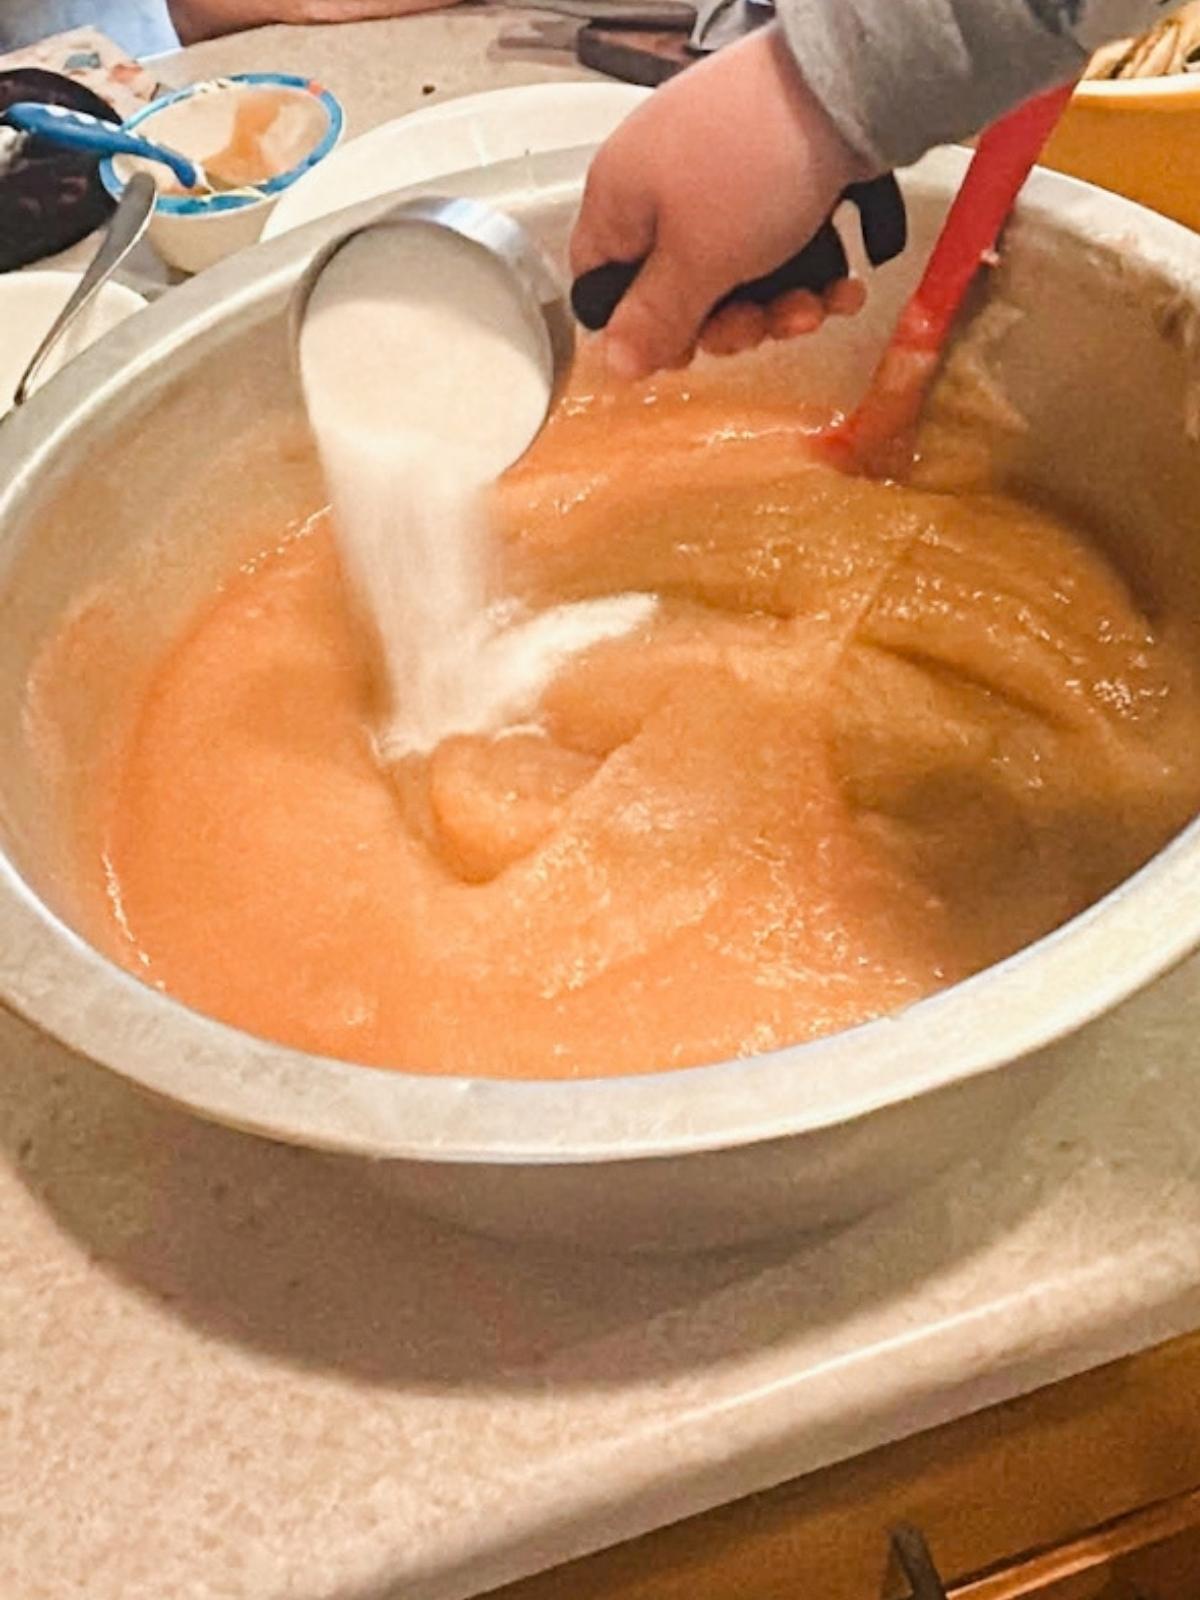
Step 5: Once all of your apples have been processed, add sugar to taste. You can leave the sugar out completely or add as much as you'd like depending on how sweet you want your applesauce.
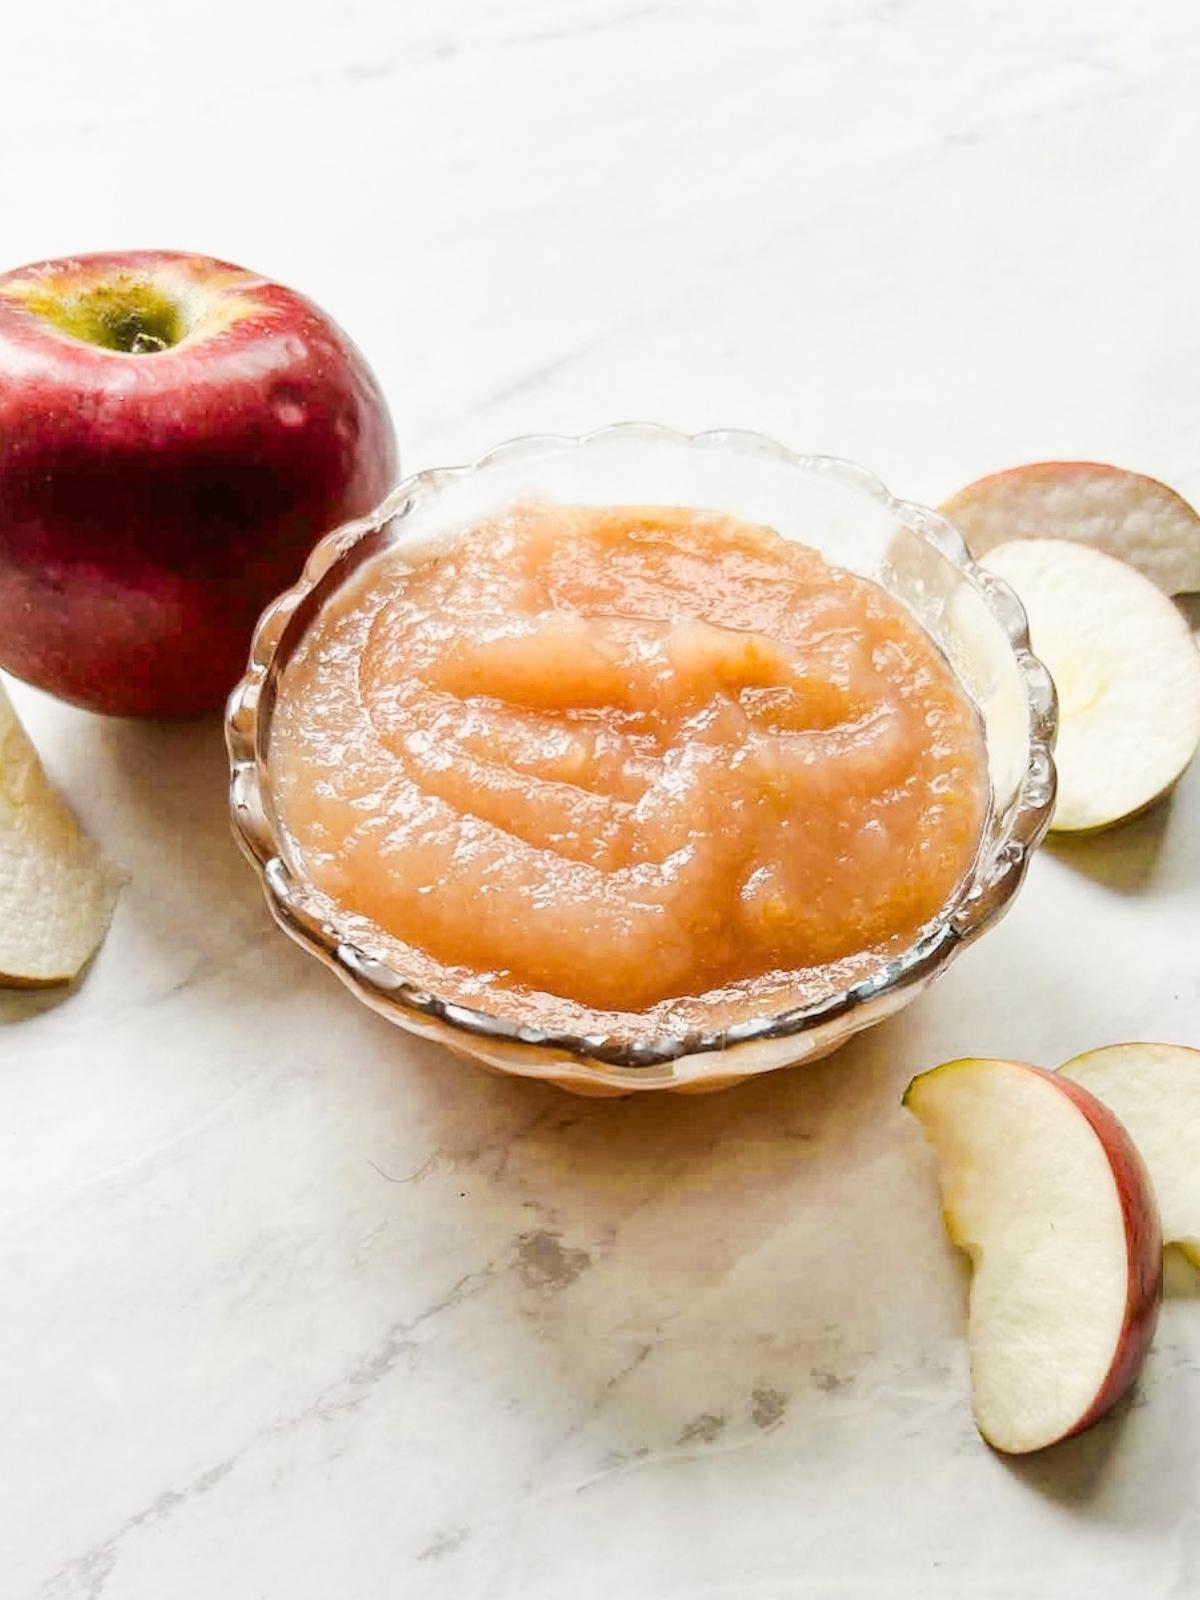
Step 6: Enjoy!
🍎 Our tip: Don't panic if your pot gets a little scorched! It happens to us sometimes when we're making a big batch. Fill the pot with water, bring it to a boil, then let it cool before scraping off the stuck-on apples. If the pot didn't scorch, there's no need to clean it between batches.
How to Make Homemade Applesauce in the Instant Pot
If you'd rather use your Instant Pot, the process is just as simple. Prepare the apples as described above, then follow these steps for cooking them in the Instant Pot.
- Add the apples and water: Place 16 cups of prepared apples in the Instant Pot and pour 1 cup of water over the apples
- Pressure cook: secure the lid and set the Instant Pot to pressure cook for 10 minutes
- Naturally release the pressure: Once the cooking time is complete, allow the pressure to naturally release for 10 minutes. Then carefully open the vent to release any remaining pressure before removing the lid. If you would like to have completely release the pressure naturally that is okay too!
- Strain the cooked apples: Transfer the cooked apples to a chinois and use a wooden pestle to press and work the apples through the strainer. The applesauce will pass through while the peels and other solids remain behind.
- Add sugar to taste: Once you've strained the apples, add sugar to your desired level of sweetness. You can leave it out completely or add as much as you'd like.
How to Can Homemade Applesauce
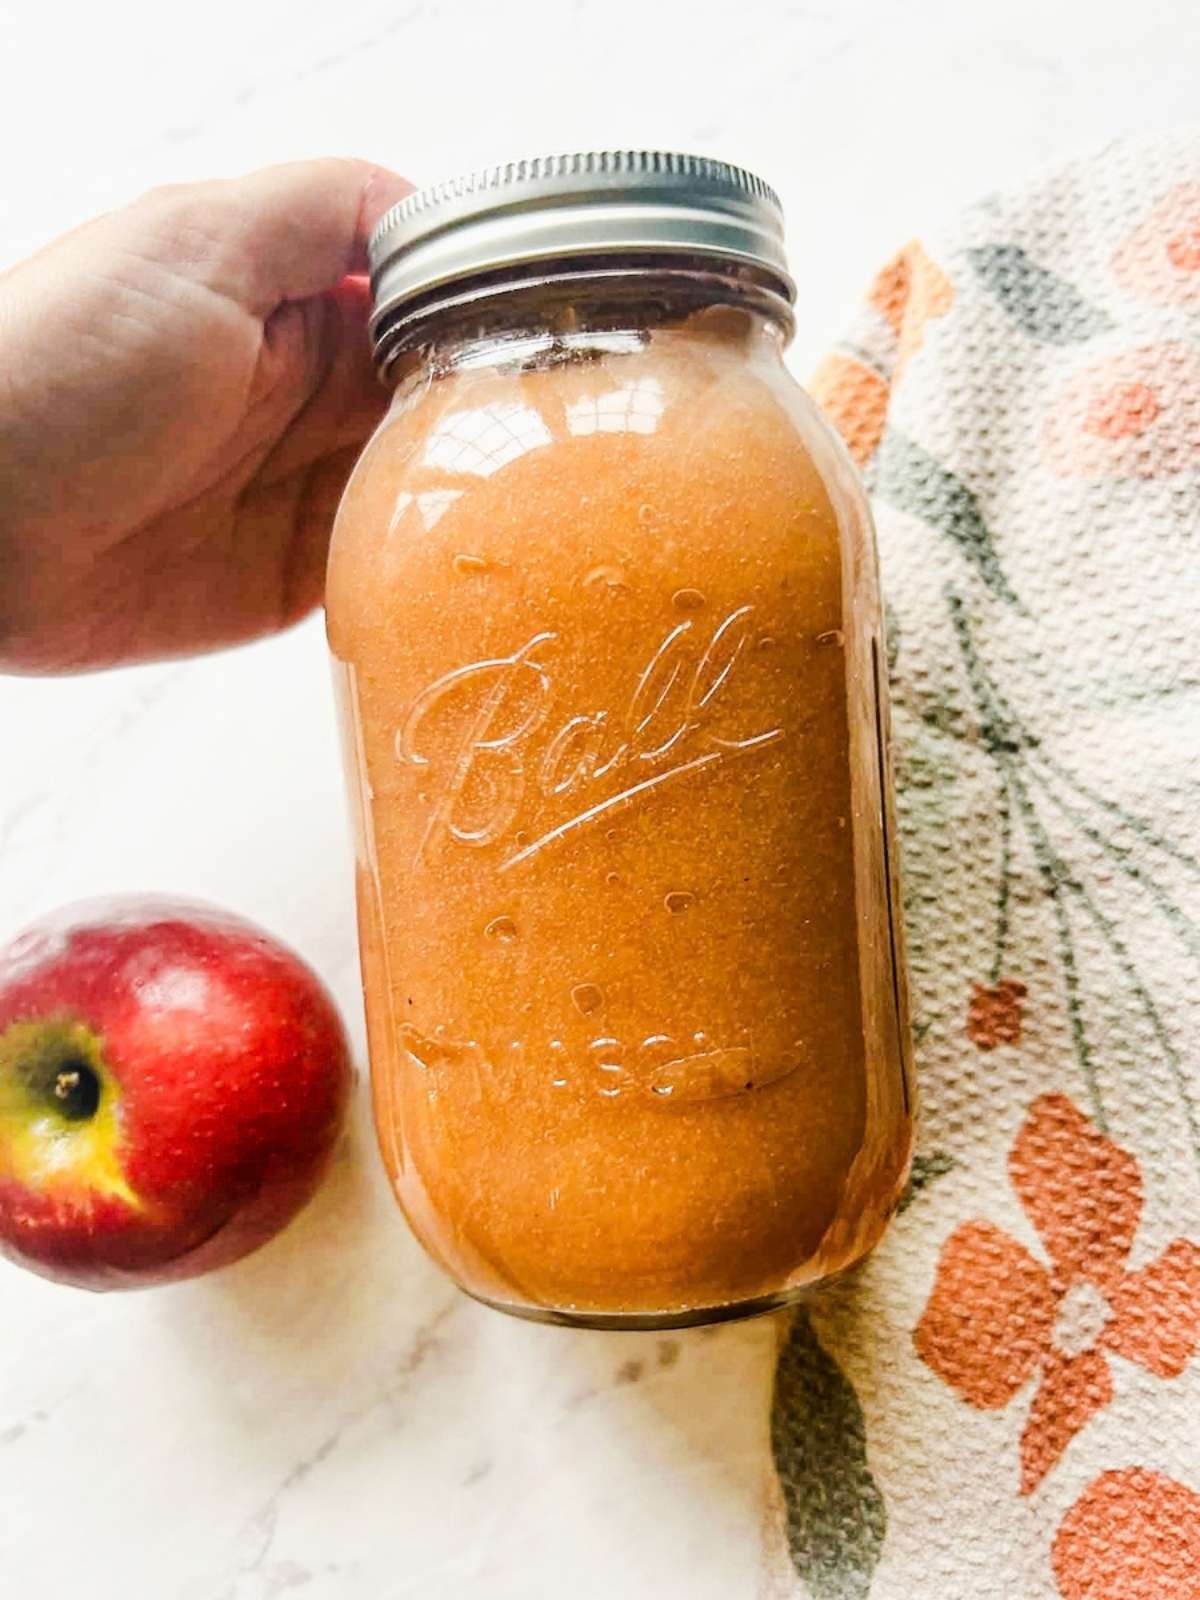
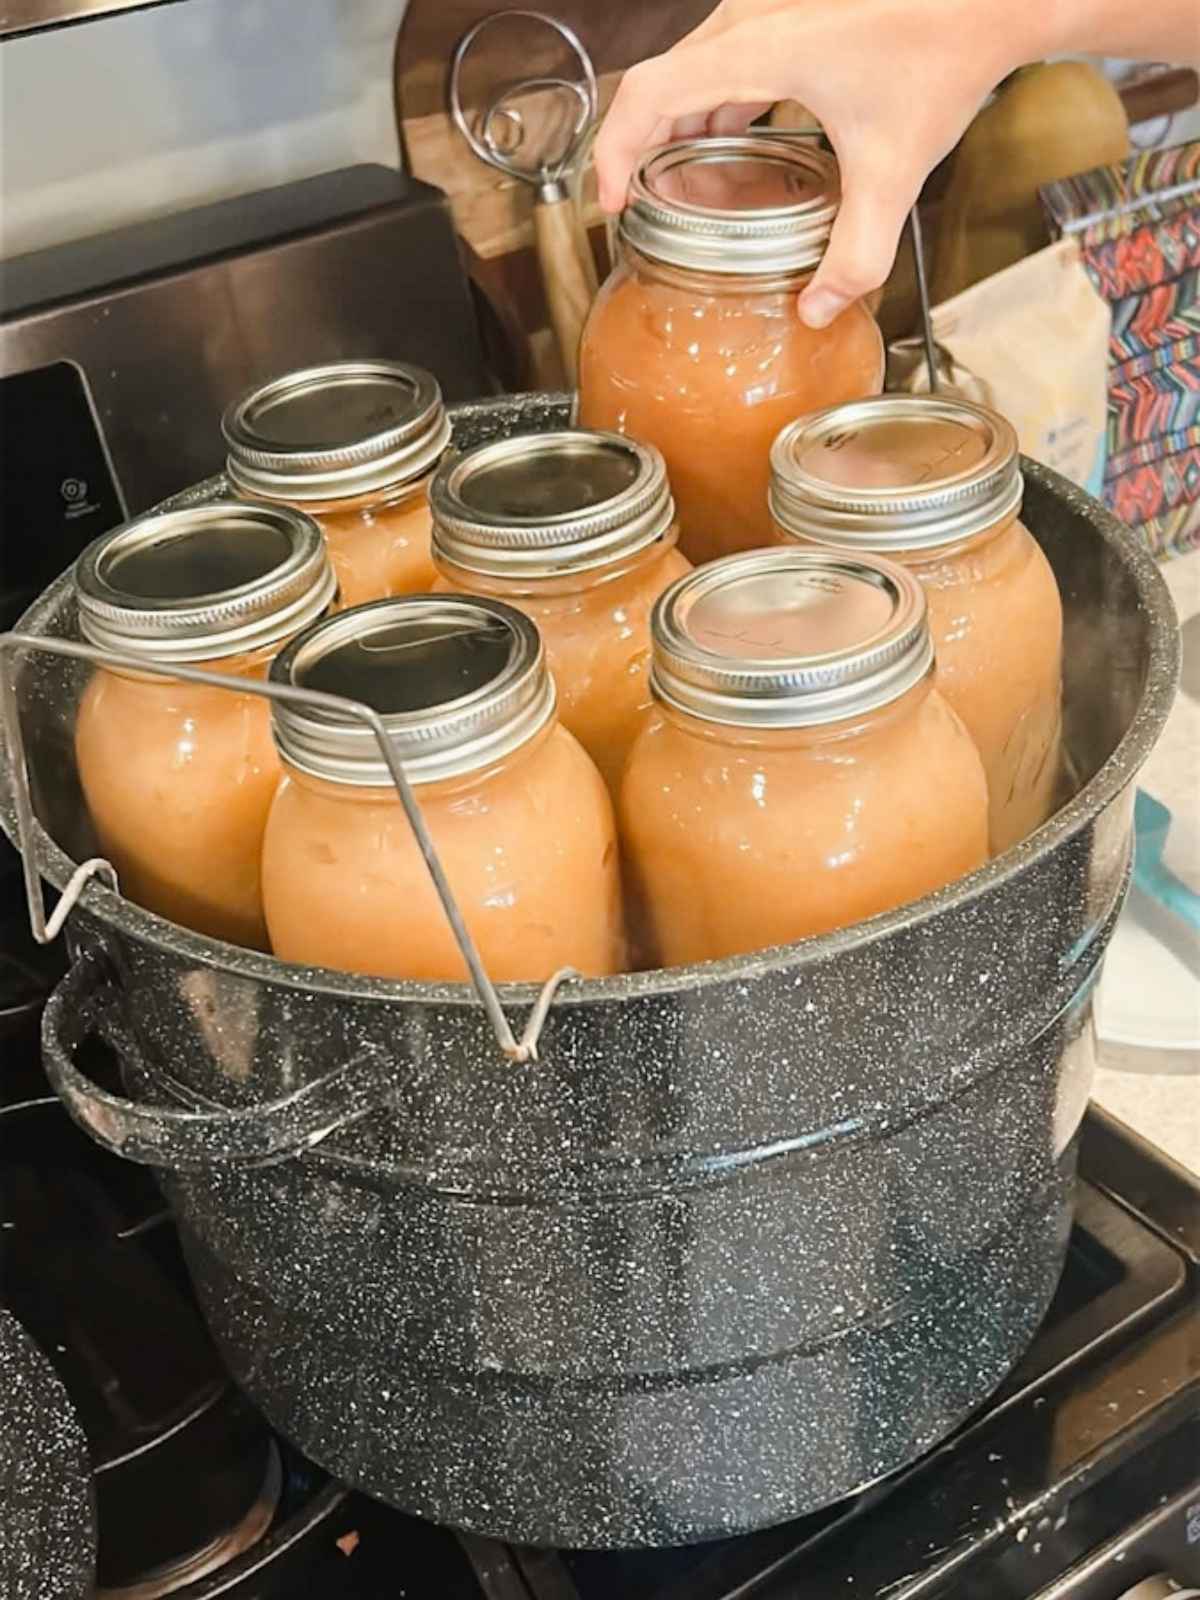
If you're making a large batch of applesauce, canning is one of our favorite ways to preserve it so we can enjoy homemade applesauce throughout the year. We usually make several batches at once and store the sealed jars in our basement.
Before you begin: Follow a current, tested home-canning recipe and processing instructions for applesauce, including the appropriate processing time for your jar size and elevation.
Preparing the Jars
While we're making the applesauce, we warm our clean glass jars in the oven at 250°F. We also have our water bath canner heating so the water is ready when we're ready to fill the jars.
Filling the Jars
- Use a canning funnel to make filling the jars easier.
- Transfer the warm applesauce into the jars. We like using a small cup to transfer the applesauce from the large bowl into the jars.
- Wipe the rim of each jar clean.
- Add a new canning lid and secure it with the jar ring.
Processing the Jars
Place the filled jars into the prepared water-bath canner and process according to a current, tested applesauce canning procedure for your jar size and elevation.
Once processing is complete, carefully remove the jars using a jar lifter and place them upright on a towel-covered surface where they can cool undisturbed.
We like to let our jars cool overnight before moving them to our basement for storage. Then we have homemade applesauce ready to grab throughout the year!
Ways to Use Homemade Applesauce
Once you have a batch of homemade applesauce in the fridge, there are so many easy ways to enjoy it! Here are some of our favorite ways to use it:
- Serve it alongside pork: This is probably our favorite way to eat applesauce! We love serving it alongside pork chops or other pork dishes, and our youngest especially loves dipping his pork right into the applesauce.
- Pack it in a lunchbox: Homemade applesauce makes an easy addition to a school lunch or an afternoon snack. We love using these reuseable packets for our kids!
- Stir it into oatmeal: Add a spoonful to warm oatmeal for a little extra sweetness and apple flavor.
- Make apple pie breakfast cookies: We also use our homemade applesauce in our apple pie cookies which is a great recipe for a quick grab and go breakfast!
- Freeze it into pops: Pour applesauce into popsicle molds and freeze for a simple frozen treat the kids can enjoy, this is perfect for a hot summer day.
Storage
There are several ways to store homemade applesauce, depending on how much you make and how long you want to keep it. Here are a few of our favorite options:
Fresh: Store homemade applesauce in an airtight container in the refrigerator for up to 5 days.
Canned: If you properly process the applesauce using the canning method, sealed jars can last between 12-18 months.
Frozen: Homemade applesauce freezes well! Store it in a freezer-safe container, leaving a little room for expansion, and use within 6-12 months for the best quality.
A Family Tradition
We love making a big batch of applesauce in the fall and filling our basement shelves with jars to enjoy throughout the year. There's something so sweet about opening a jar months later and knowing it came from apples we made into applesauce together.
Homemade Applesauce Recipe FAQs
We used Paula Red apples for years but have switched to Cortland apples the last 5 years and love that we have to use less added sugar in our applesauce with Cortlands!
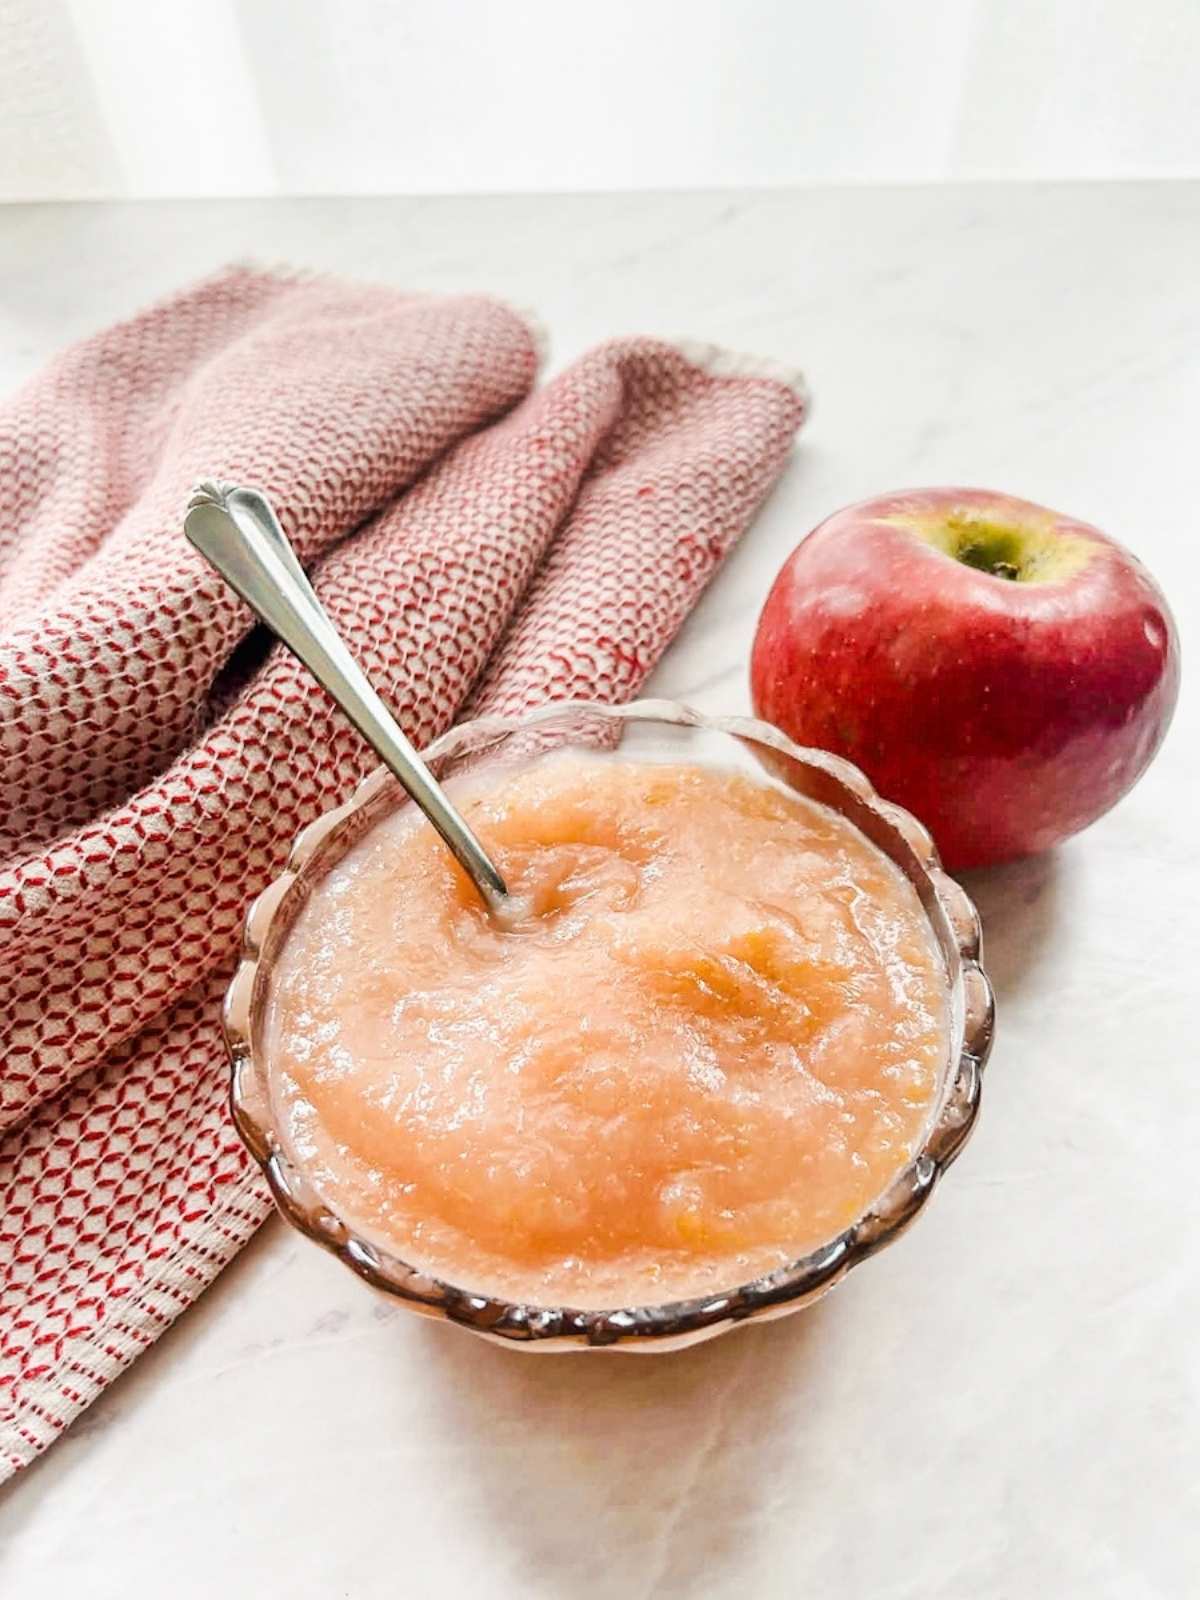
Nope! That is why we love this recipe so much and leaving the peels on give the applesauce a really pretty pink color.
Absolutely, you can make this recipe with as much or little sugar as you would like.
It can last up to 18 months in a processed jar and 6-12 months in the freezer. If you have an open container in the fridge it will last up to 5 days.
Other Fall Apple Based Recipes You Will Love
Looking for other recipes like this? Try these:




If you tried this homemade applesauce or any other recipe on our blog please leave a 🌟 star rating and let us know how it went in the 📝 comments below. Thanks for visiting!
Recipe
Homemade Applesauce
Equipment
- Quart jars only needed if you are canning your applesauce
Ingredients
- 16 cups sliced cortland apples
- 1- 3 ½ cups water 1 cup for Instant Pot method, 3 ½ cups for stovetop method
- Sugar to preferred sweetness
Instructions
- Wash your apples and cut them into approximately ½- to 1-inch slices, removing the cores and seeds. You don't need to peel them because the strainer will separate the peels from the apples later.
- Add 8 cups of prepared apples to a large stock pot or Instant Pot and add 3½ cups of water if cooking the apples on stovetop and 1 cup water if using Instant Pot
- Cover the pot and cook over medium heat, allowing the apples to simmer until they are very soft and mushy. It's okay if the apples look a little juicy as they cook. If they start looking dry, add ¼ cup of water and continue cooking. *see instructions for cooking apples in Instant Pot in post
- Stir the apples occasionally as they cook, stirring more frequently as they get close to being done. This helps prevent the apples from sticking and scorching on the bottom of the pot.
- Once the apples are mushy and soft transfer them to a chinois and use a wooden pestle to press the apples through the strainer. Work the pestle around the chinois, pressing the apples against the sides and bottom until the applesauce has passed through and only the peels and other solids remain.
- Once all of your apples have been processed, add sugar to taste. You can leave the sugar out completely or add as much as you'd like depending on how sweet you want your applesauce.
- Enjoy!
Notes
- Don't panic if your pot gets a little scorched! It happens to us sometimes when we're making a big batch. Fill the pot with water, bring it to a boil, then let it cool before scraping off the stuck-on apples. If the pot didn't scorch, there's no need to clean it between batches.
- If you're doing multiple batches scrape the leftover peels and apple pieces out of the chinois before starting the next batch.
- We prefer Cortland apples but we have also used Paula Reds which are very good as well
- Add sugar to taste, if you would prefer to not have added sugar in your applesauce it is okay to keep it out completely.
Nutrition








Love how easy this is! Saving for when our apple trees finally start producing!
It is so simple and, better yet, my kids LOVE it which is why we now make enough to last us all year! We would love for you to report back once you make it and leave a review <3
I was just talking to my mom about making homemade applesauce with my kids! Looks like I've found my recipe!! yum!
We would love to hear how your family likes it after you make it! 🙂